
In the third part we bring it all together. We add the Infrastructure Appliance to the VBR server. Then we set it up as a hardened repo, which will later on serve as our primary backup target.
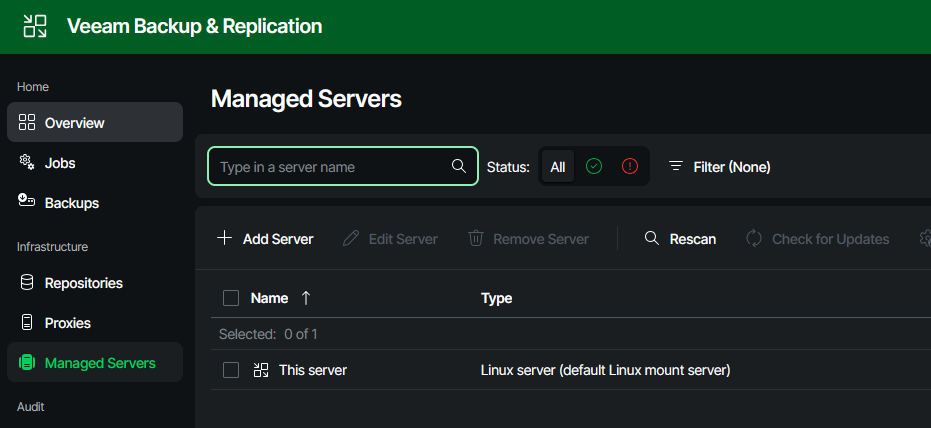
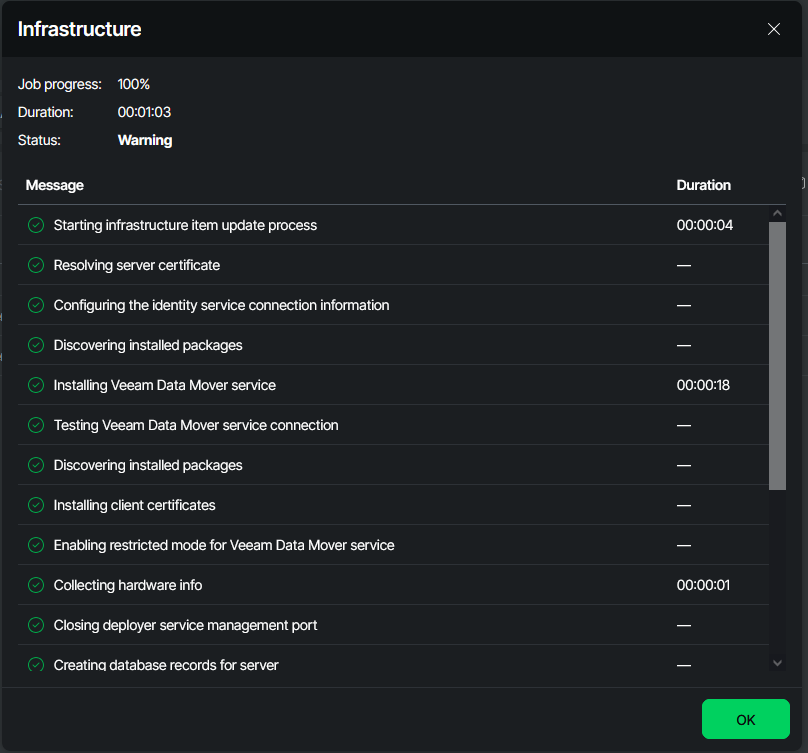
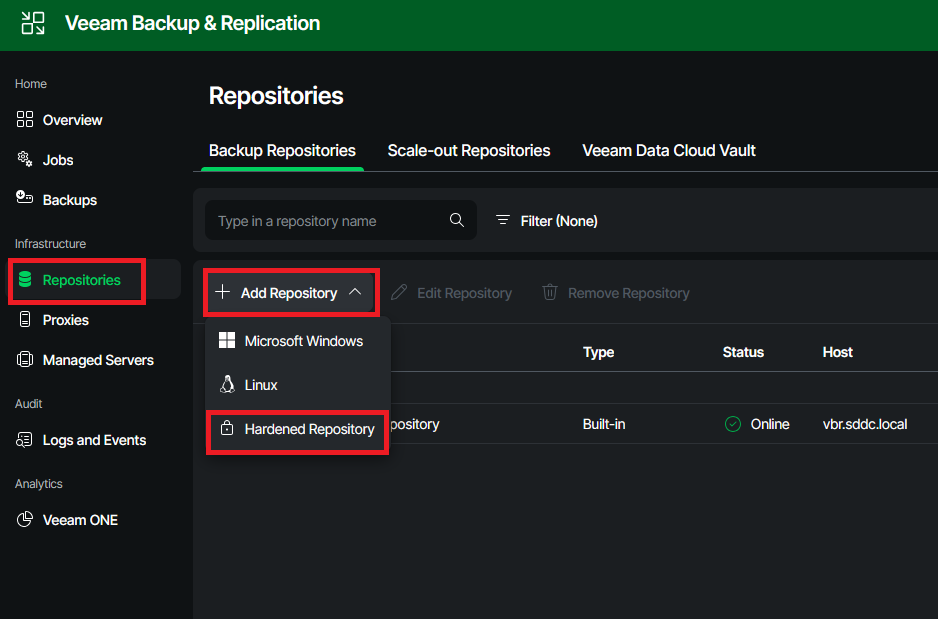
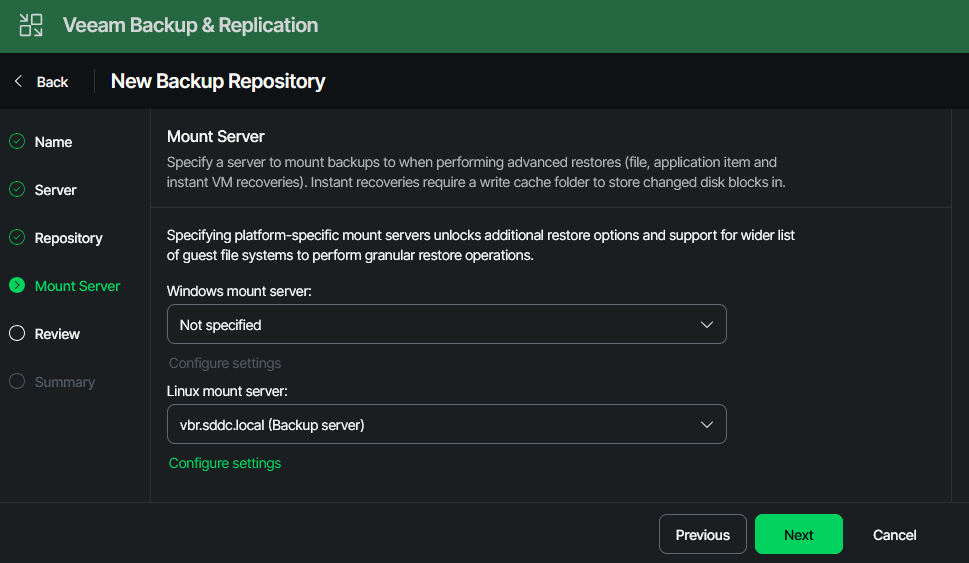
In order to create the hardened repo in your VBR appliance, two steps need to be done. First, the newly installed server is added to VBR as a managed server. Then, the actual repository is created, and all properties such as concurrency and immutability are configured.
To do this, we first log in to the web interface of the VBR server.
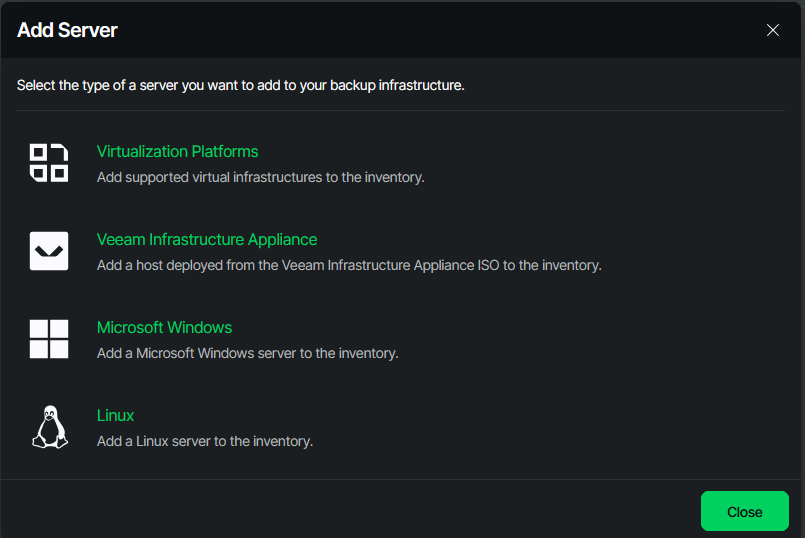
Adding the Infrastructure Appliance to VBR
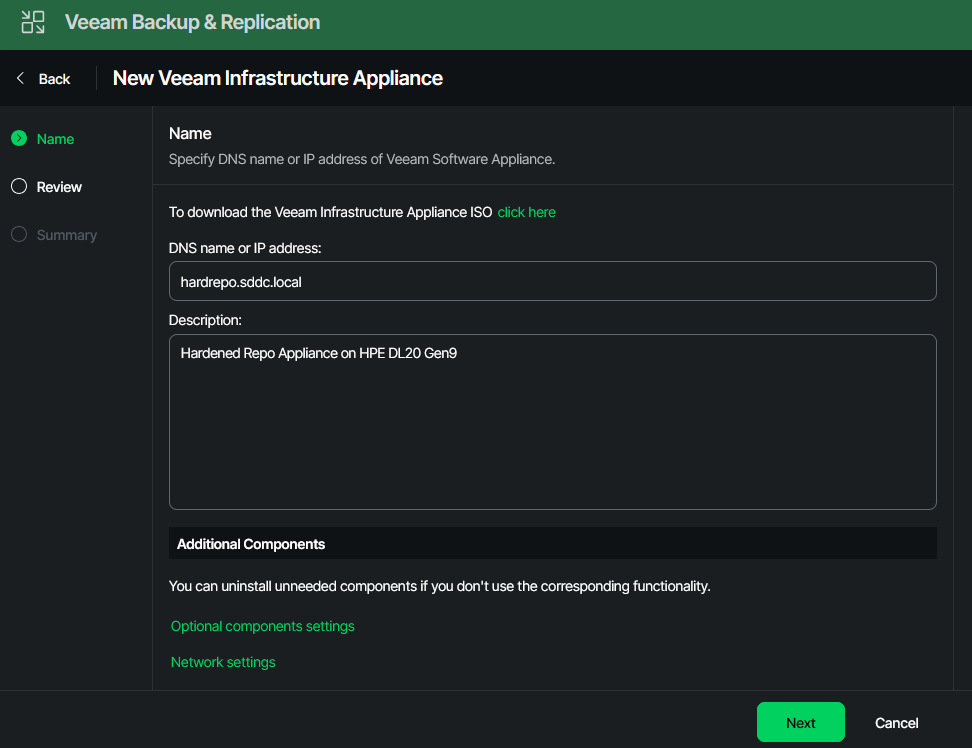
Before hitting the next button, click on “Optional components settings”.
Here you can specify which additional roles and functions your appliance should be capable of. In my scenario, the repo server shall be just a repo server and nothing else, so I cleared all.
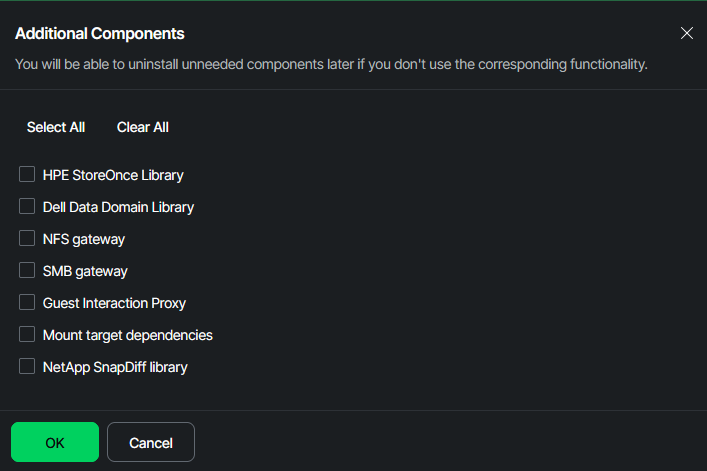
After the component selection box faded out, I continued by pressing “next”.
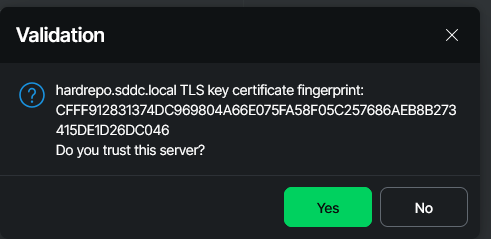
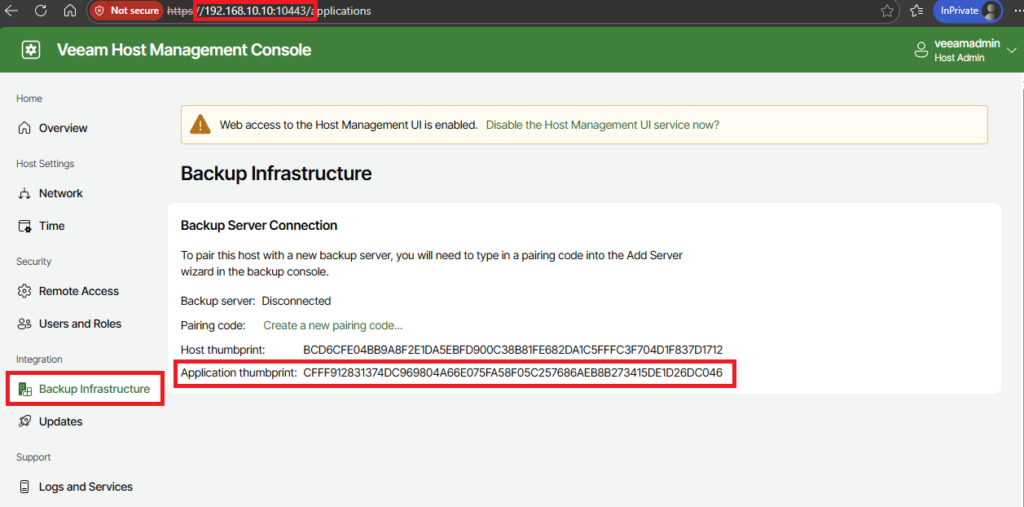
Now you have two choices: the easy and simple one, just click “Yes” and go on. Or you take one minute of your time, connect to the host management console web interface of your repo server, head down to “Backup Infrastructure” and verify the fingerprint.
Don’t stress — when it comes to fingerprint and thumbprint, they’re basically one and the same.
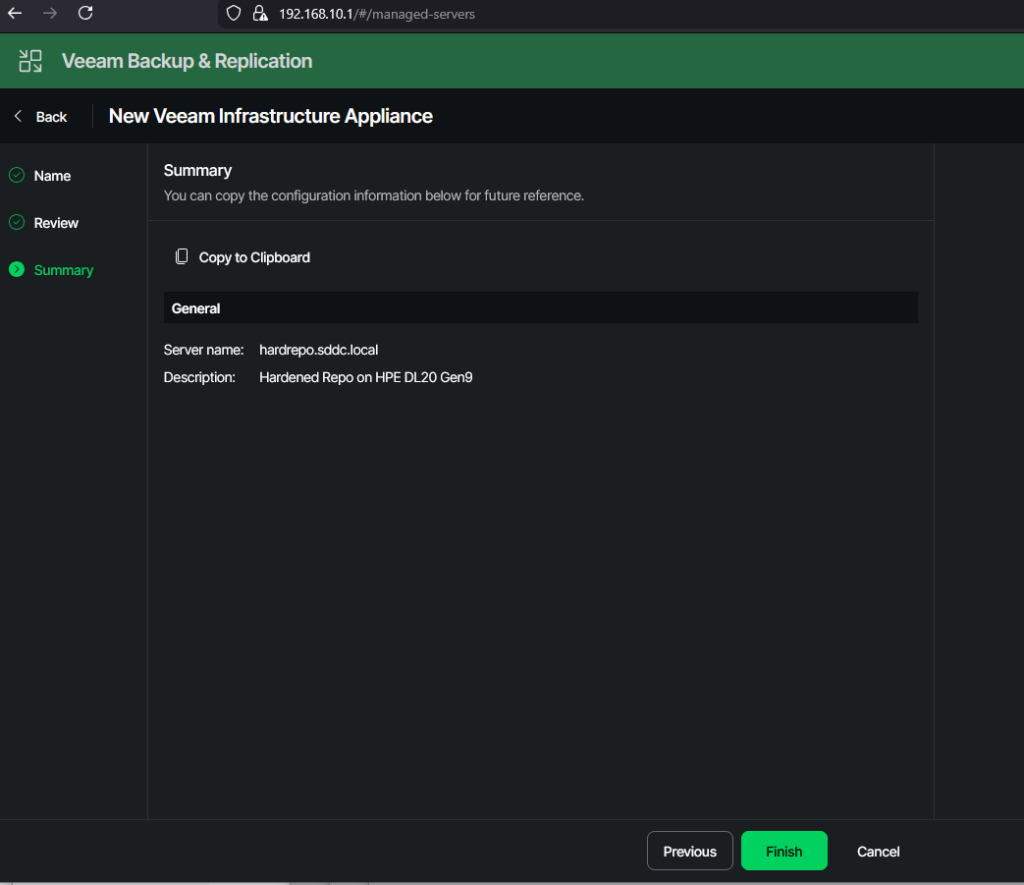
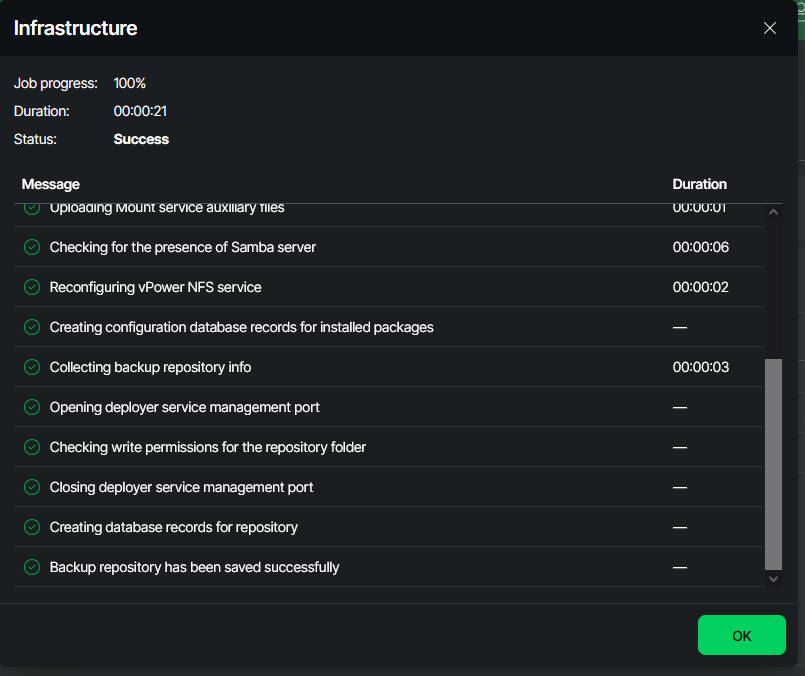
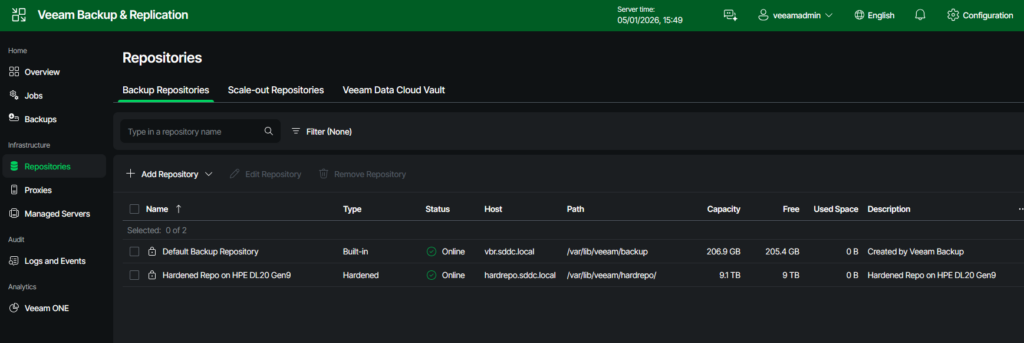
Creating the actual Hardened Repository

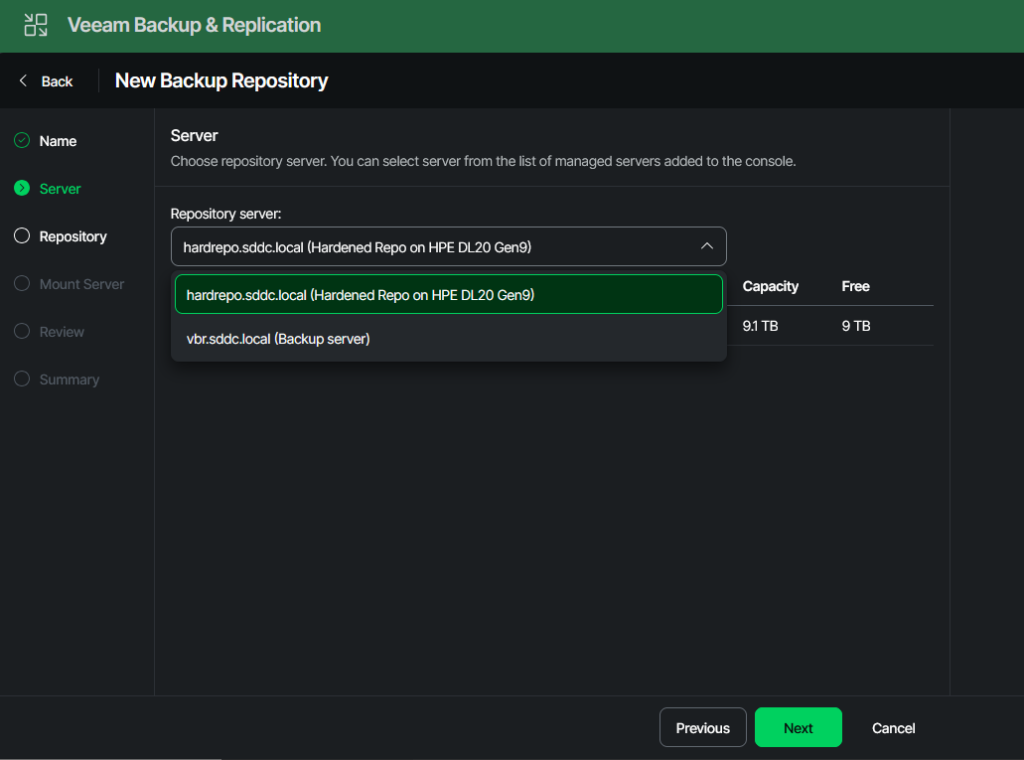
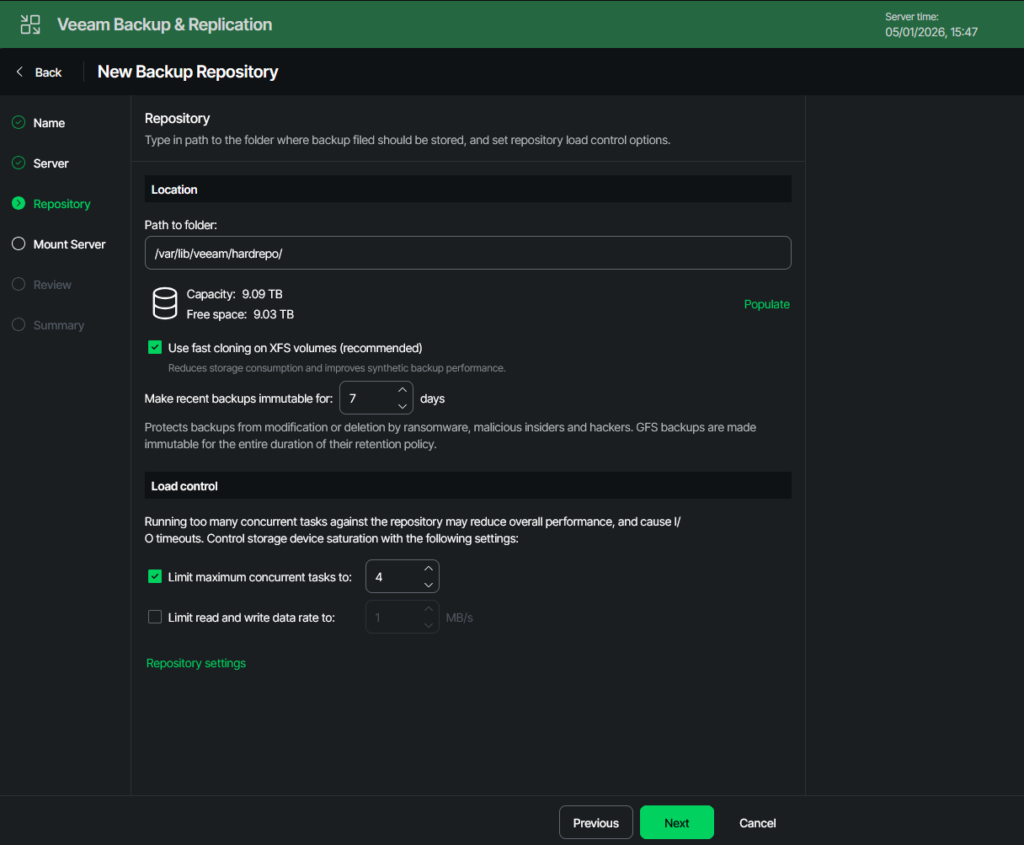
First, enter the path to your data folder. This is where all backup files will be stored. The second disk is mounted under “/var/lib/veeam.” Choose a name and add it to this prefix. I went with “/var/lib/veeam/hardrepo/”.
Now click on “Populate”, and you should see the capacity and free space of your data disk/partition.
You should definitely keep XFS fast cloning enabled. This will greatly enhance your storage efficiency. I short: The filesystem will internally link already known blocks instead of writing them again. This will really kick in when using synthetic full backups instead of real full backups.
Here´s the link to the Veeam help center regarding Fast Cloning: Fast Clone – Veeam Backup & Replication User Guide
The immutability question is the one with the biggest impact. On the one hand, this can safeguard your data, on the other hand it can also have a downside. Nobody can delete your backups, so if your calculations for needed storage capacity were wrong, and you kept too many old versions, you won´t be able to delete them. This could mean that for some time you won´t be able to save newer backups to your repo.
So plan carefully.
The number of concurrent jobs depends on your hardware. From what I´ve seen in larger productive environments, a good rule of thumb is:
1 CPU core equals 1 concurrent job.
4 GB of memory equals 1 concurrent job.
Here´s the link to the Veeam documentation regarding limits: Limitation of Concurrent Tasks – Veeam Backup & Replication User Guide
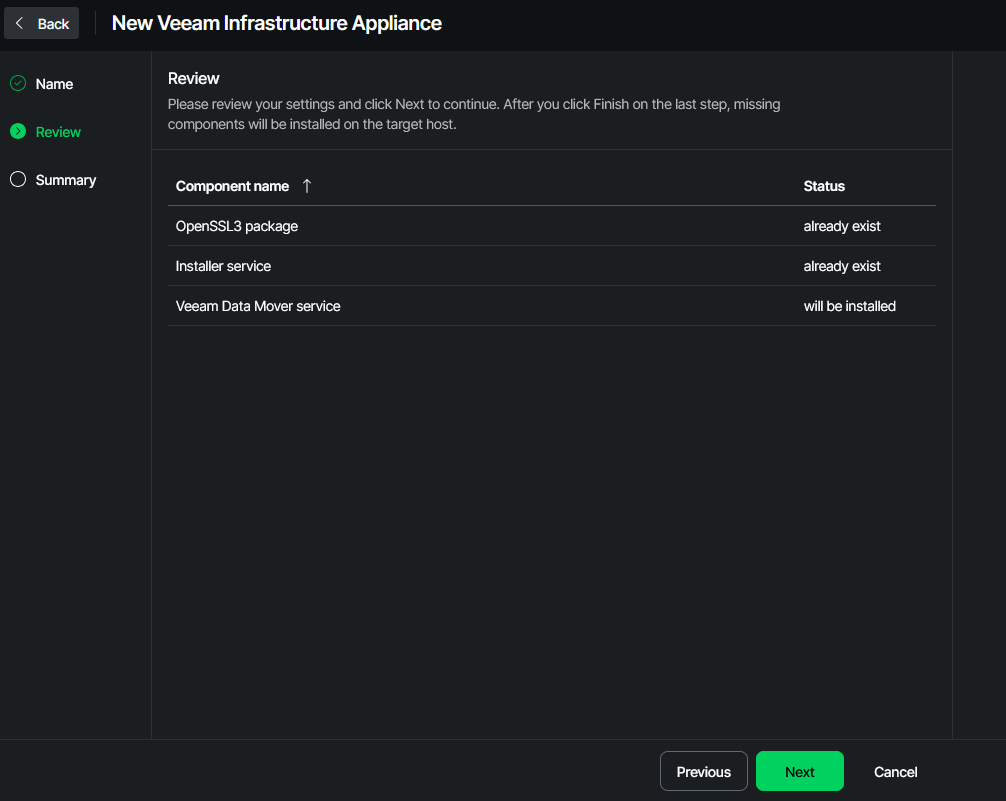
When you´re done, click on “Next”.
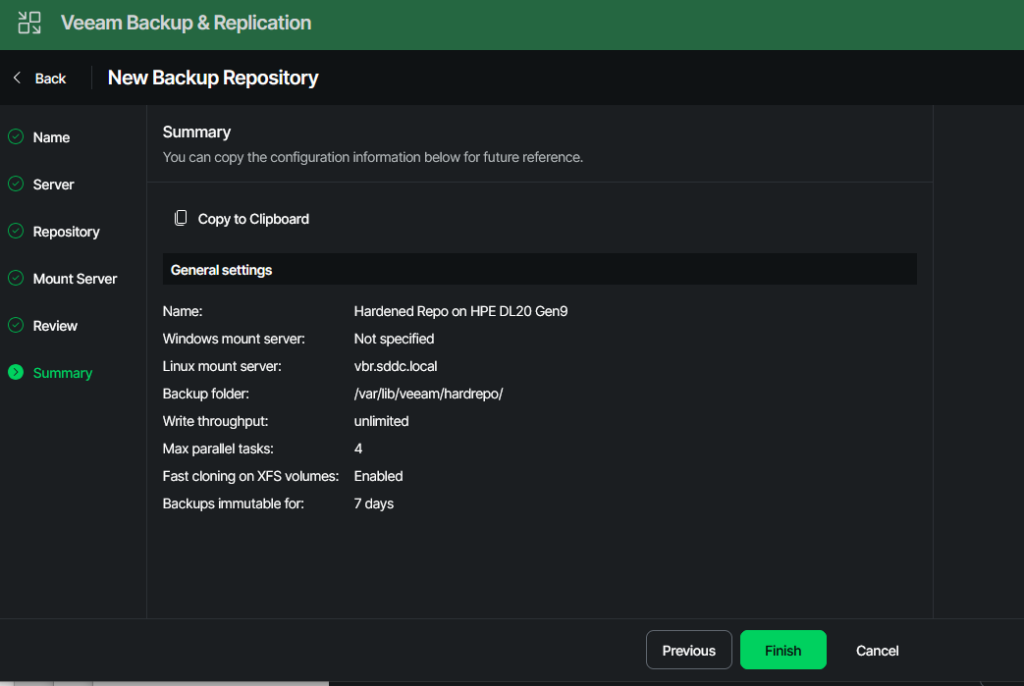
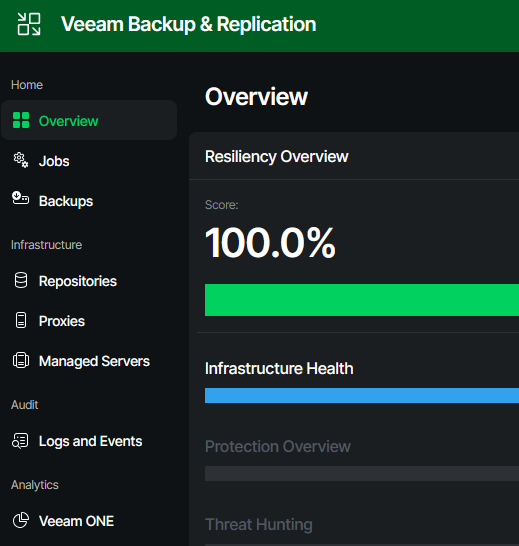
Now we have a working backup infrastructure for most tasks. In the next posts, I´ll guide you through the steps of actually creating backups from vSphere-based virtual machines.
Leave a Reply