
In the second part of the Veeam 13 series, I demonstrate how to install a hardened repo on an HPE server using the new infrastructure ISO file from Veeam. Since the system is intended to serve as the primary backup target, I naturally used a dedicated physical server rather than a VM.
Environment for the setup
For the setup, I´ve used the listed hardware and software stack.
- Software Stack
- Hardware Stack
- HPE ProLiant DL20 Gen9
- Intel(R) Xeon(R) CPU E3-1220 v6 @ 3.00GHz
- 8 GB Memory
- HPE Ethernet 1Gb 2-port 332i Adapter
- Storage for Backup Data
- SmartArray P408i-a Controller
- 2x 10T SAS HDD as RAID1
- SmartArray P408i-a Controller
- Storage for OS
- 1x 240G SATA SSD
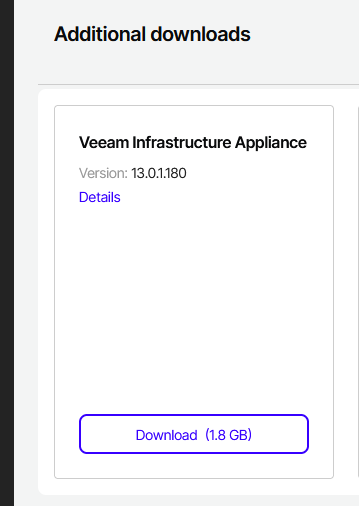
Download the right file
The first step is quite simple: log in to the Veeam homepage and download the appropriate file. When you go to the download page in your profile, just scroll down a little and look for the Veeam Infrastructure Appliance.
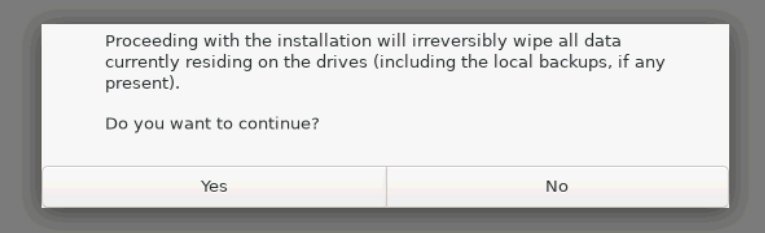
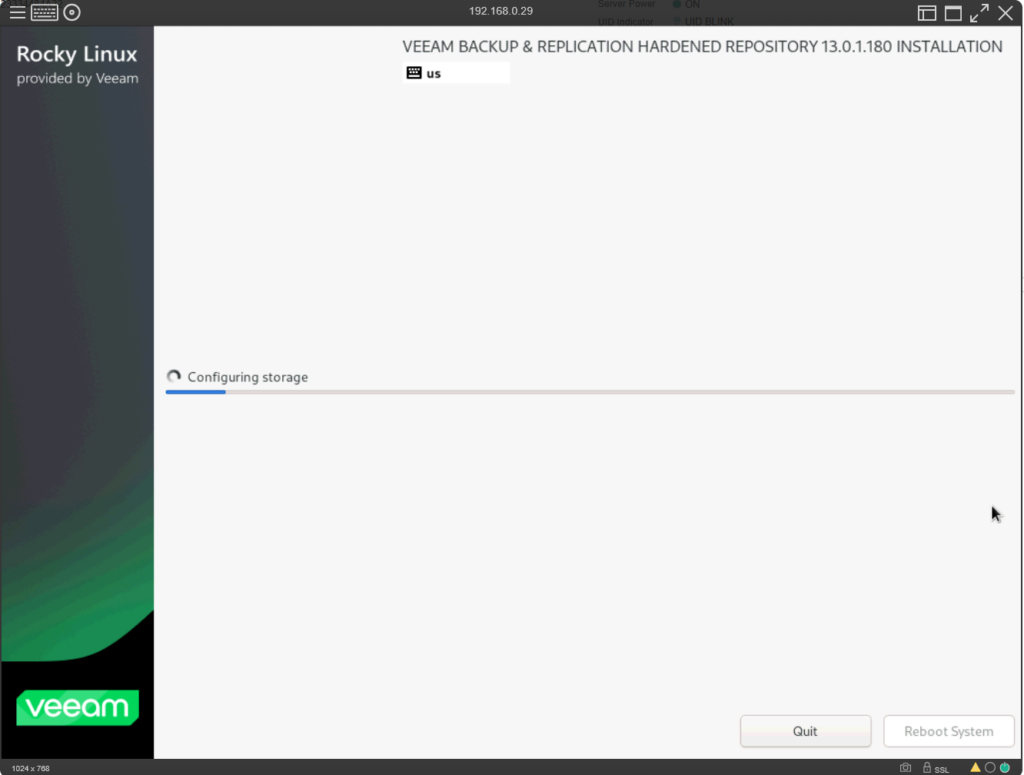
Installation steps
Next, mount the iso file you just downloaded via the server’s remote interface (in my case, the ILO) and boot the server from the iso file.
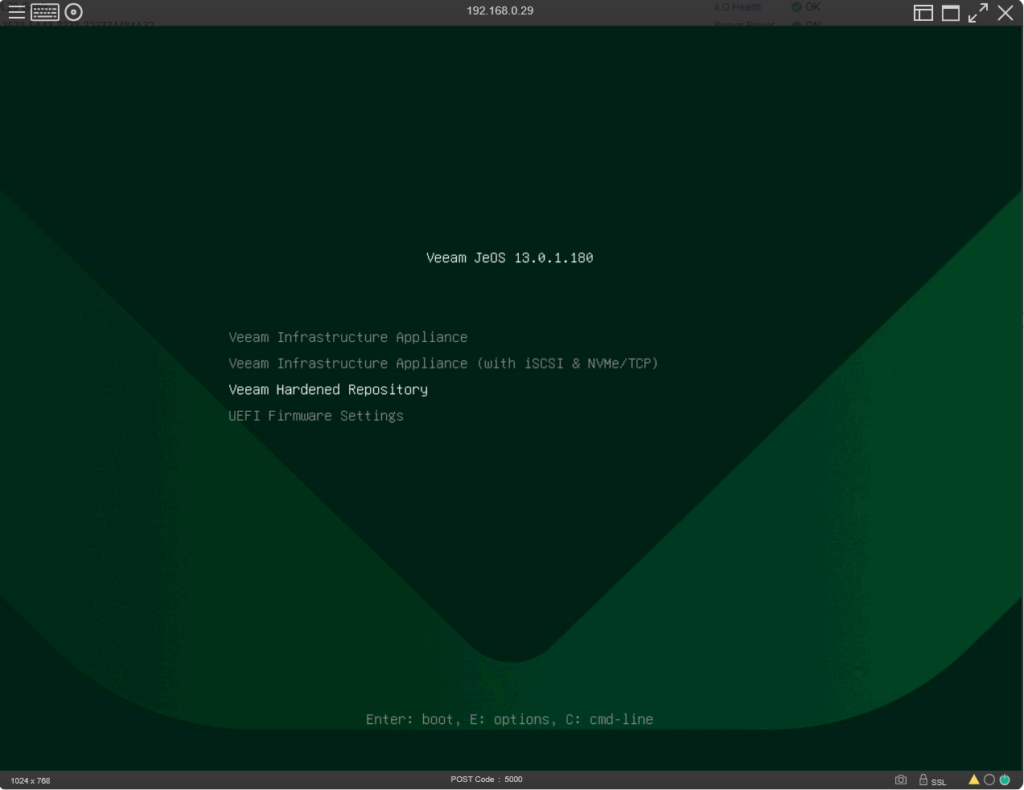
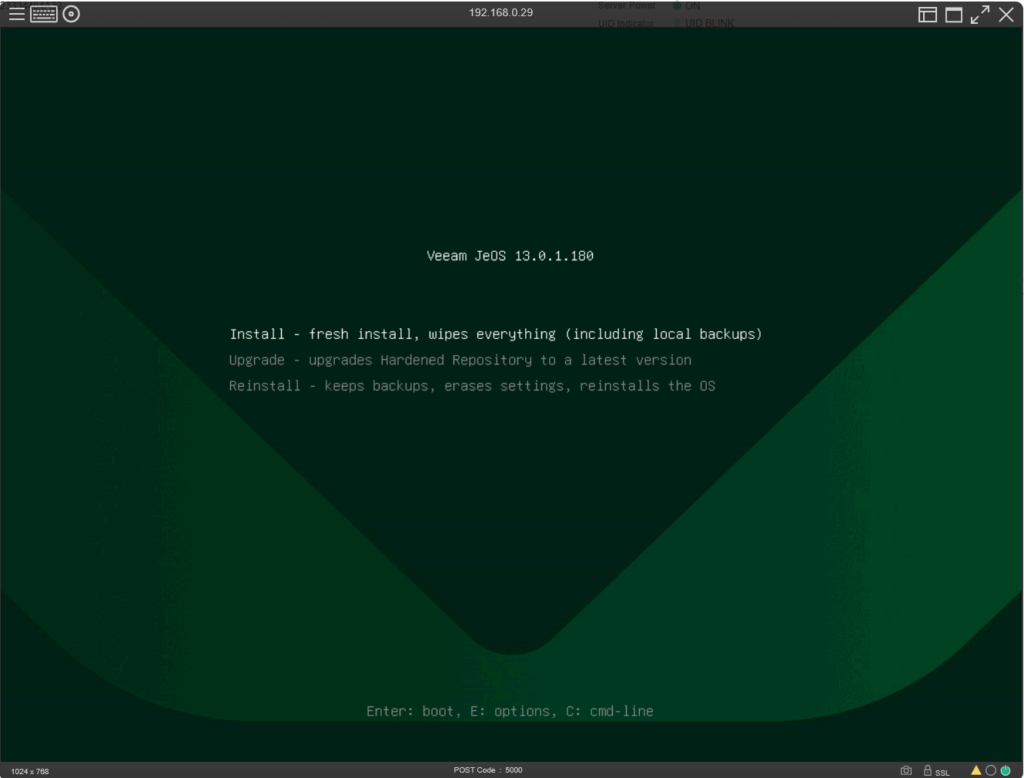
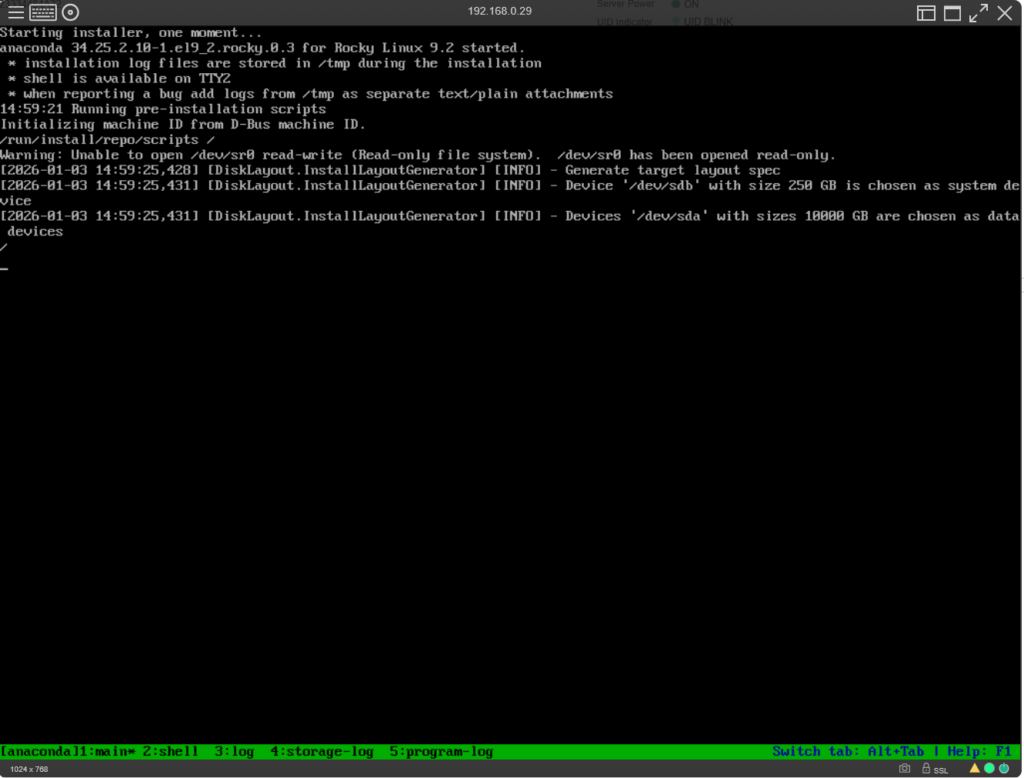
The bootloader will now transfer all necessary data from the ISO and then start the installer. This may take a few minutes.
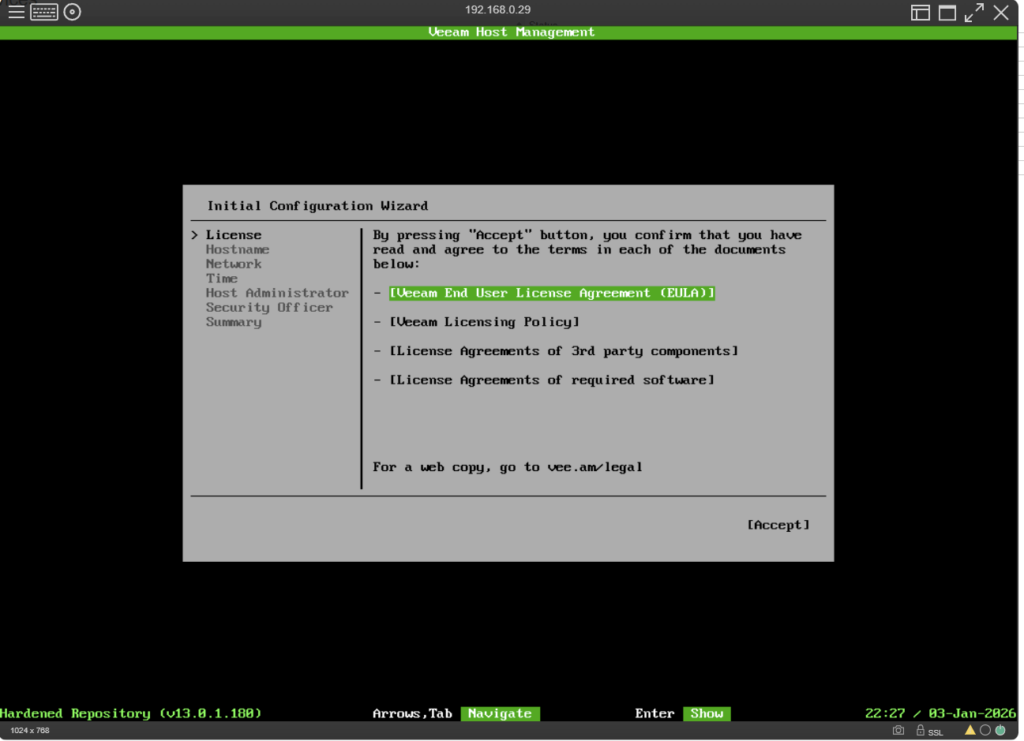
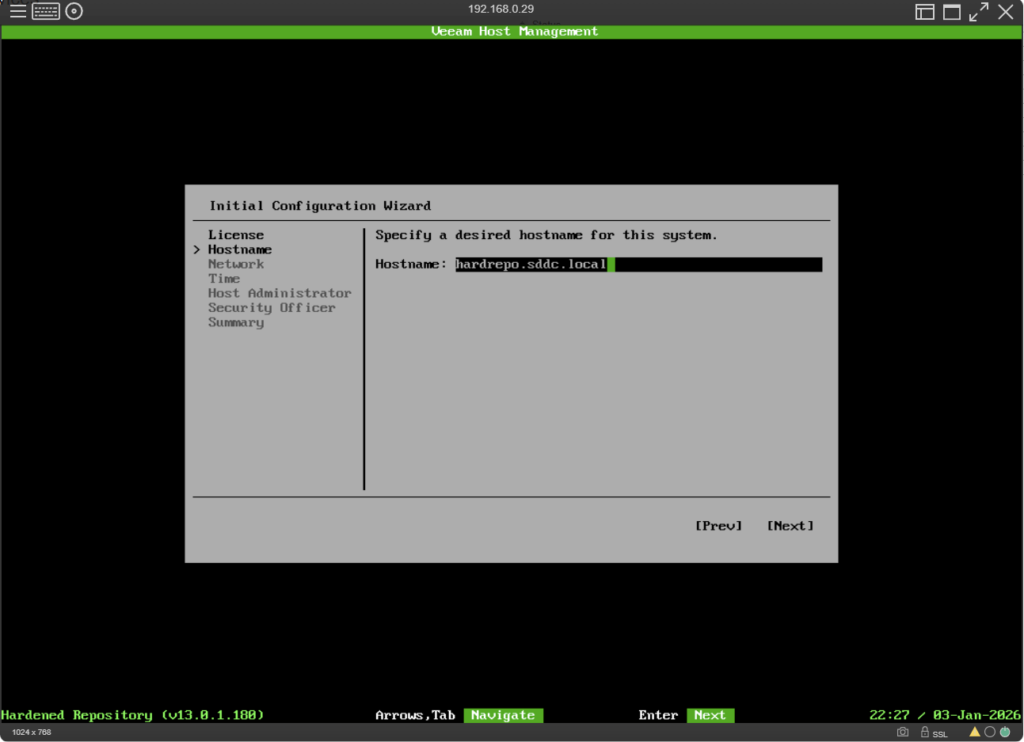
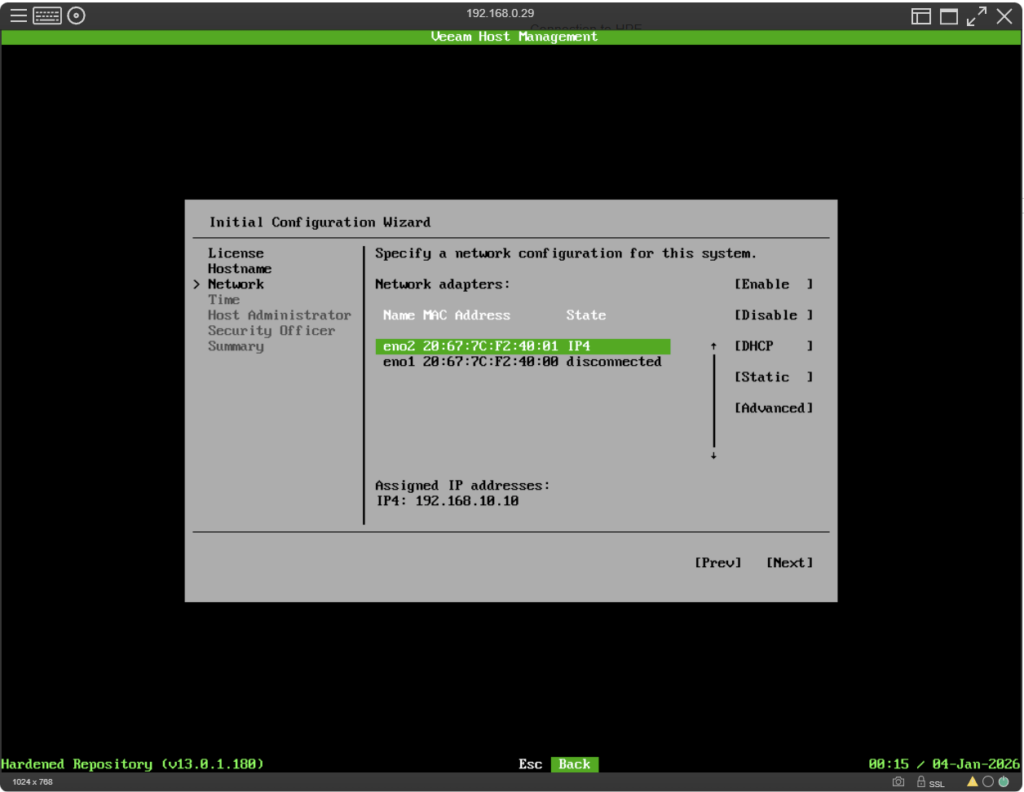
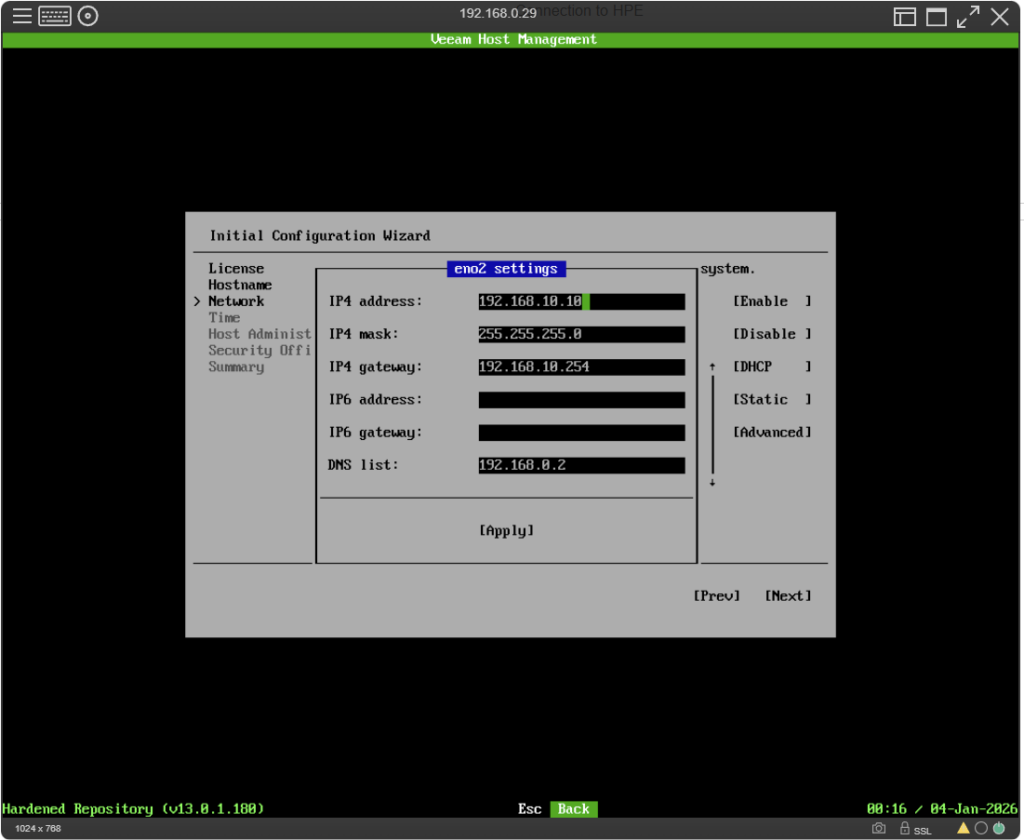
If you need more advanced or complex network settings, such as tagged VLANs or NIC bonding, you must select the “Advanced” option in the menu. This will take you to the Network Manager text interface (nmtui), where you can configure these settings.
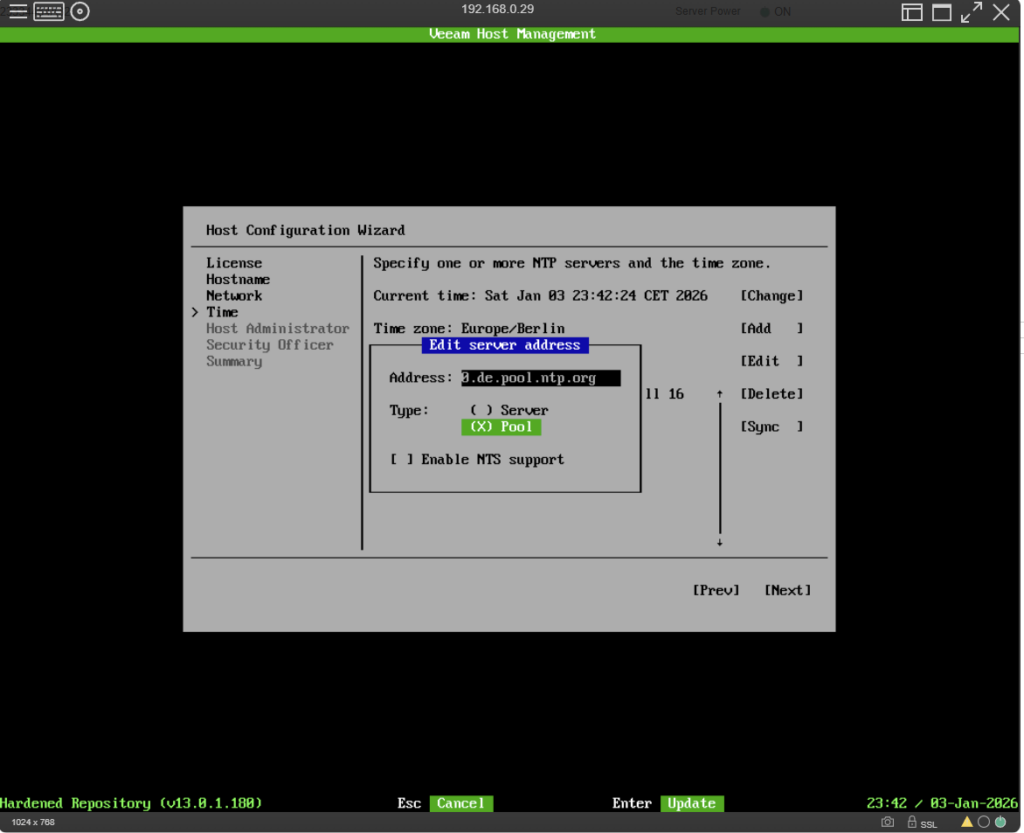
When network configuration is done, the next step will be timezone and NTP configuration.

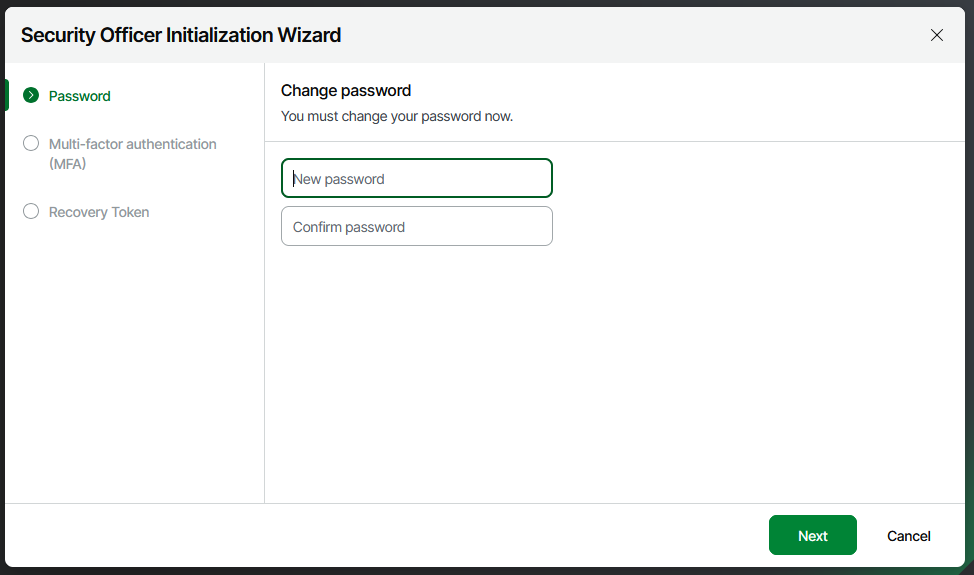
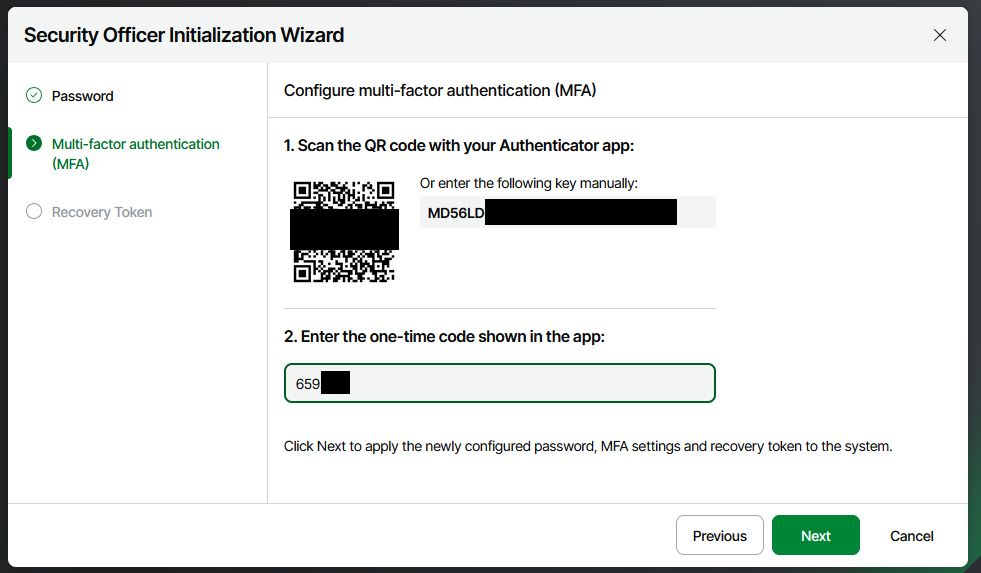
As already known from the installation of the VBR server, you now have to assign passwords for the local admin and the security officer. You must also use 2FA to secure your login.

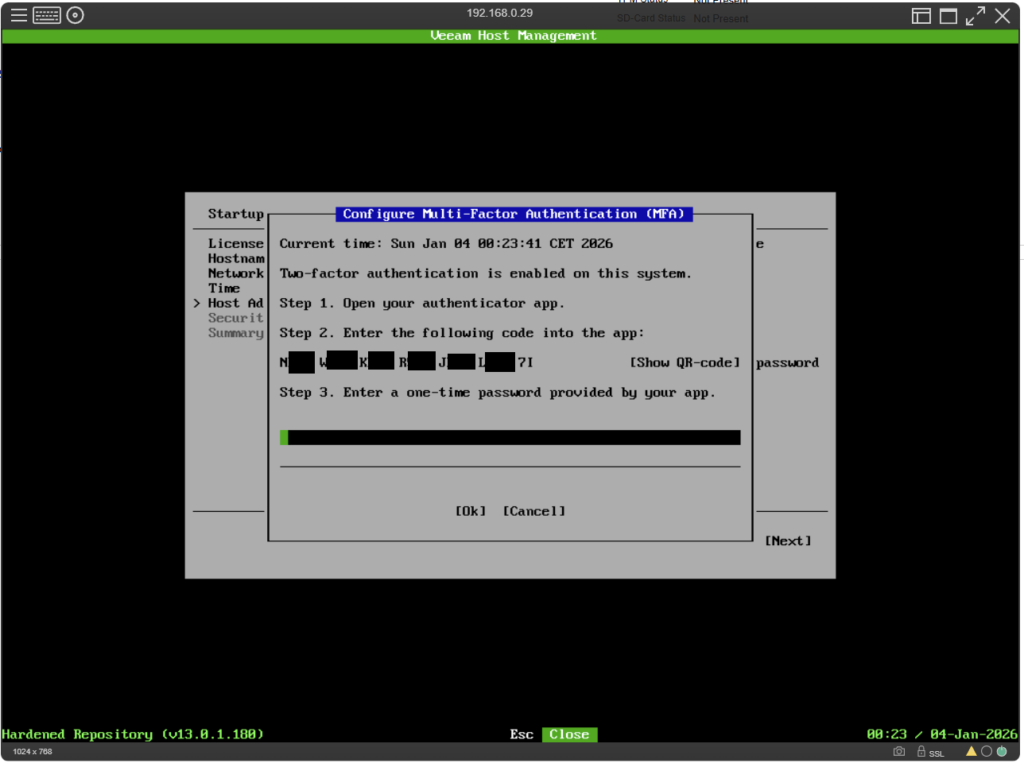
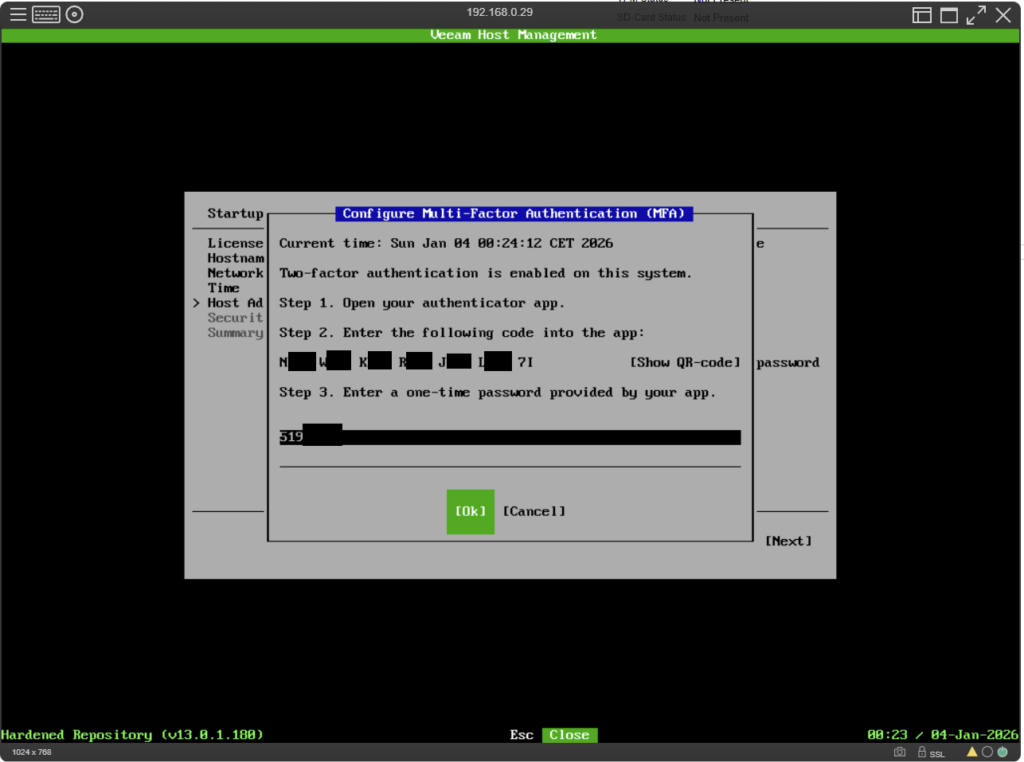
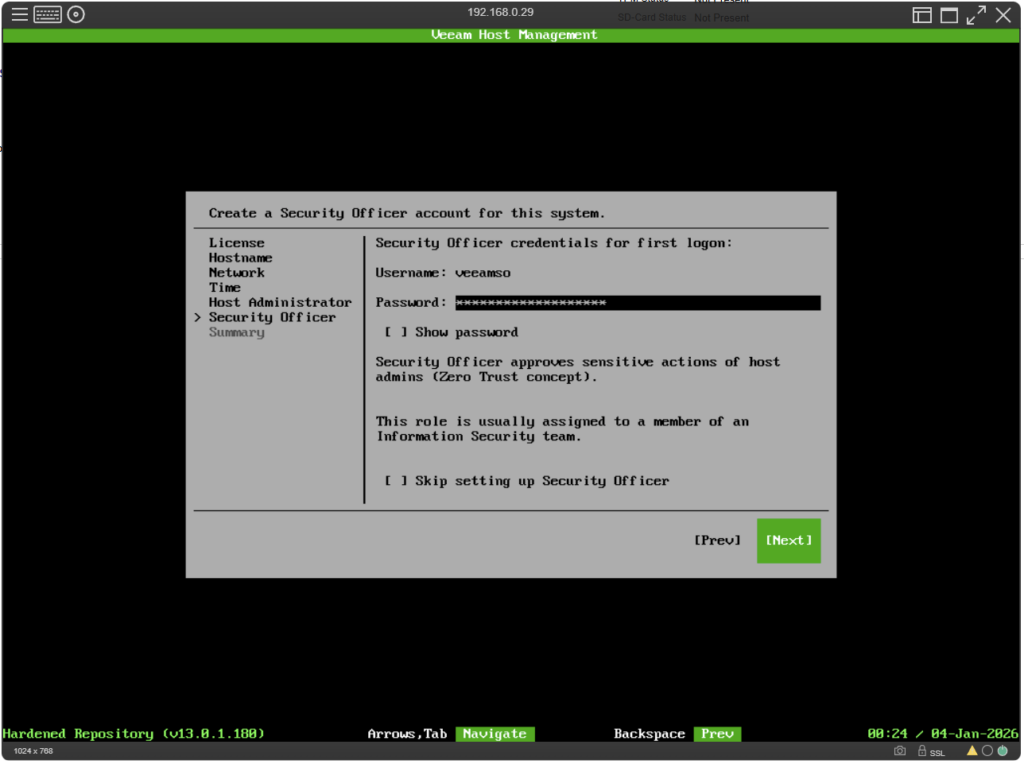
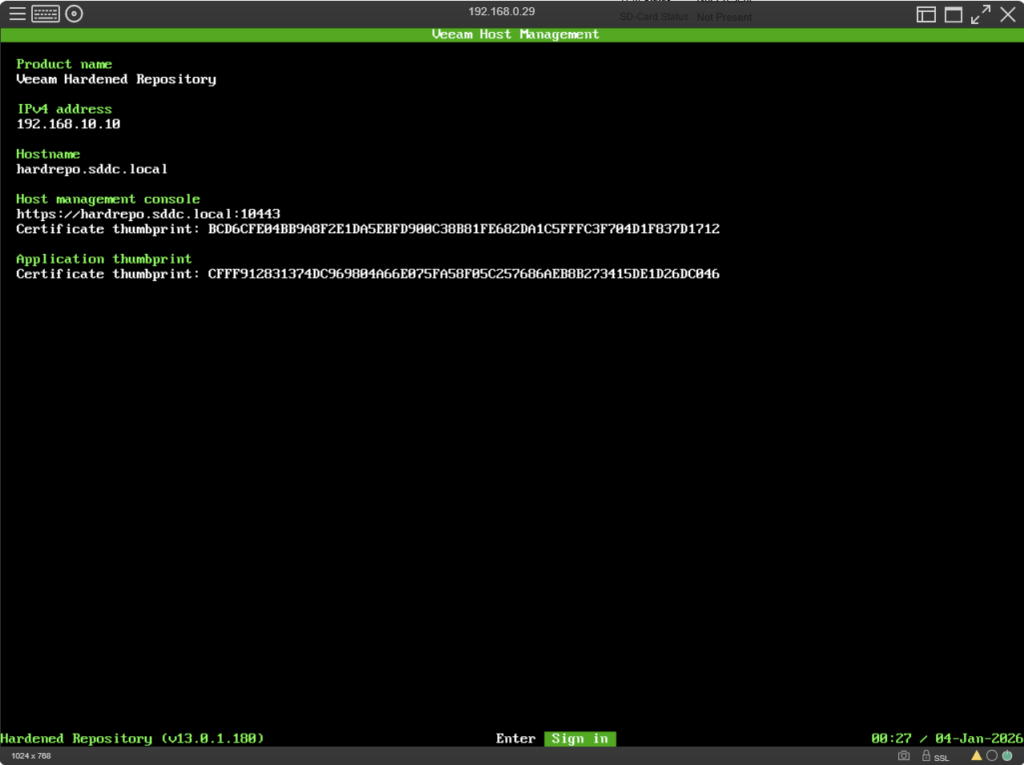
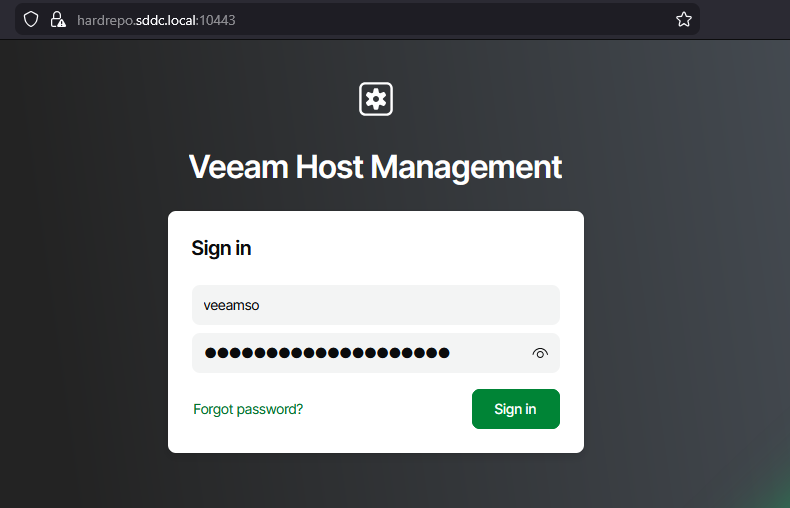
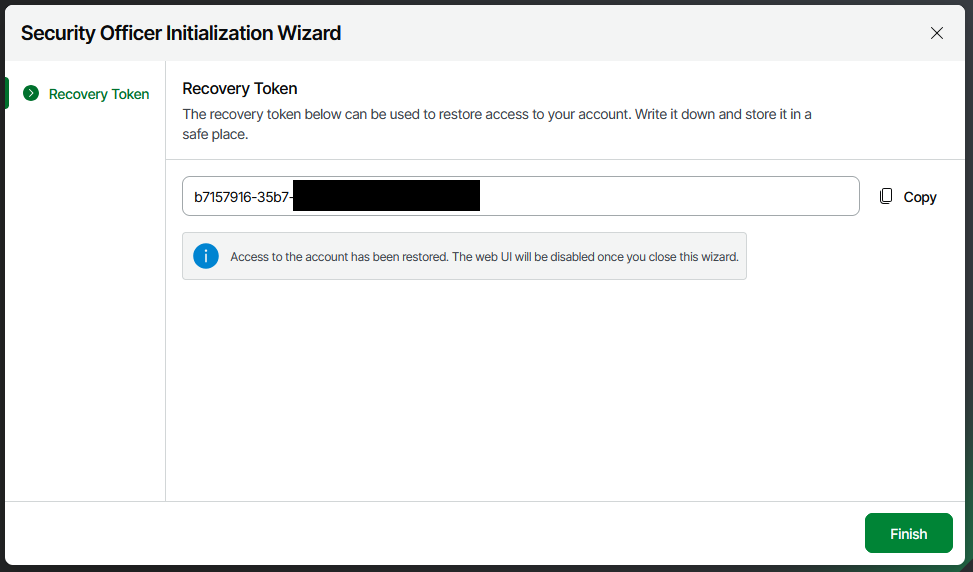
Before you can use the new repo server, you’ll need to initialize the security officer account.
Normally, you would now take the link to the host management page and send it to a colleague from the security team along with the temporary password from the installation. Here at home, I simply switch to the role of SO and do this myself.
Security Officer account initialization
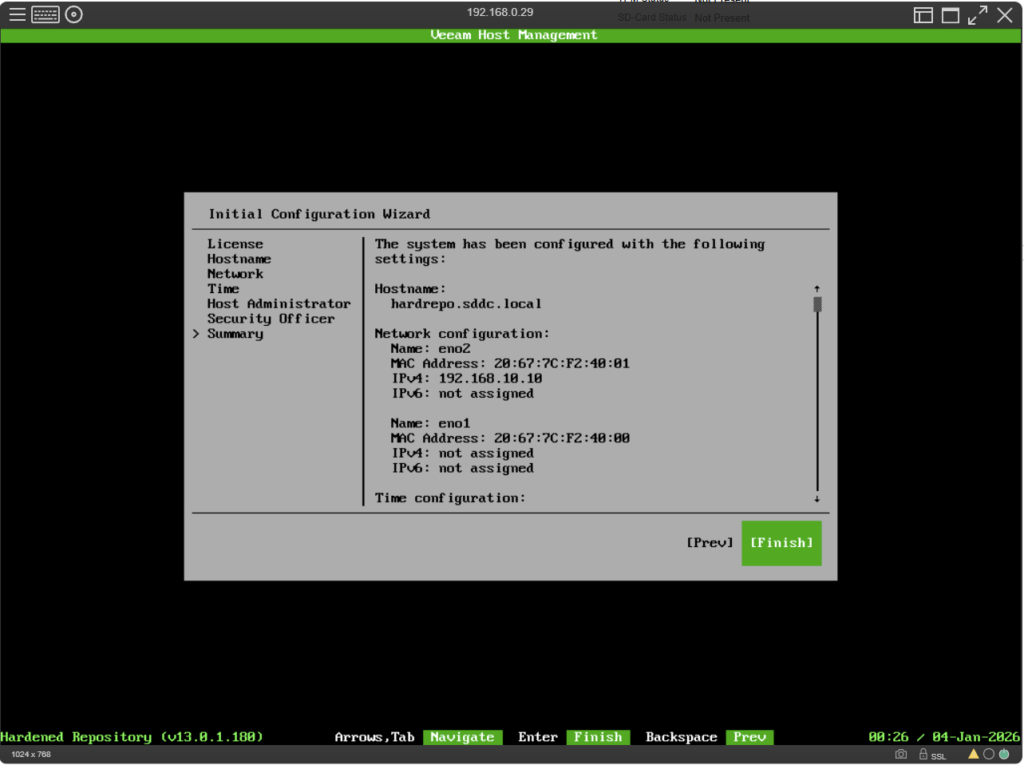
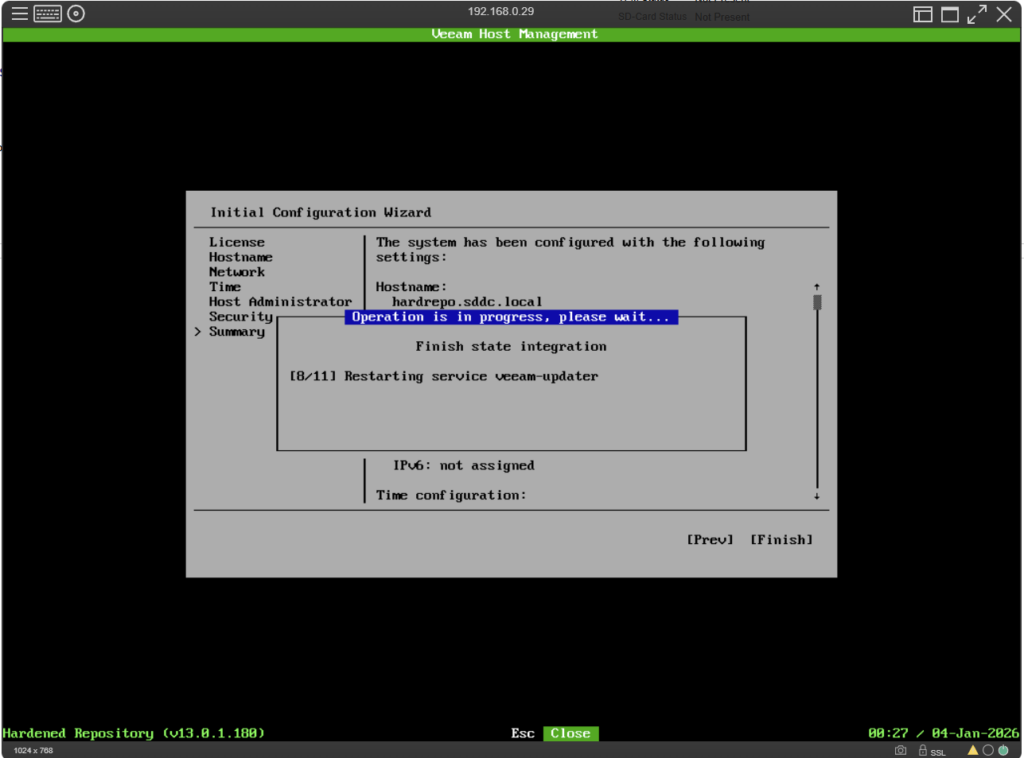
That’s it for today. The repository server is up and running, and the SO user is active..
In the next post, I will show you how to register the repo in the VBR server and use it as a backup destination.
1 Pingback