
This is the first post of a series that will guide you through in the installation and setup of Veeam 13.
Every good IT infrastructure also needs a good, multi-level backup system. As a vExpert, you not only get VMware by Broadcom licenses for your HomeLab, but you can also obtain an NFR license from Veeam with a one-year term and all features.
Most people are familiar with the 3-2-1 rule for backups, but Veeam now recommends an extended version, the 3-2-1-1-0 rule (https://www.veeam.com/blog/de/321-backup-rule.html).
I have decided to run through the whole thing with Veeam 13 and set up a corresponding environment in my home lab.
I have plans to do the following:
- A virtual Veeam Backup & Replication Server (VBR) based on the new Linux appliance
- A physical Veeam Hardened RepoServer to store local backups
- S3-based cloud storage to store copies of the local backups.
This would fulfill the 3-2-1 rules. I will consider how to cover the additional 1-0 as I go along with the setup.
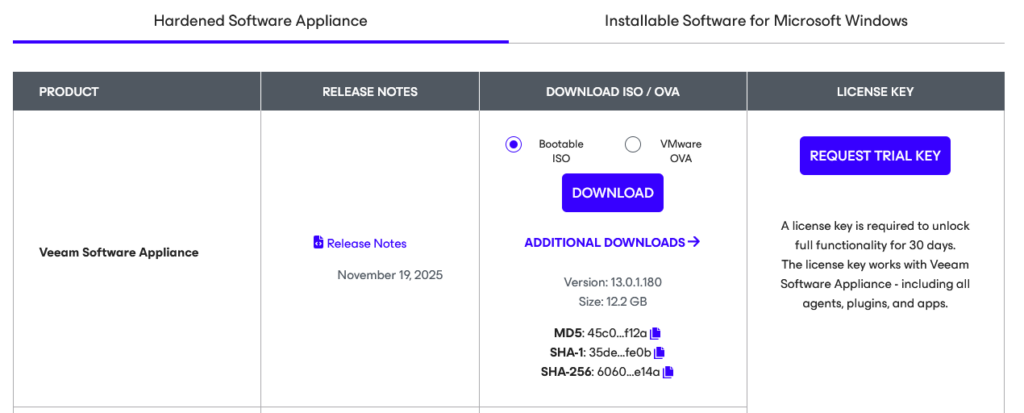
Download the right file
The first step is quite simple: log in to the Veeam homepage and download the appropriate file. When you go to the download page in your profile, just scroll down a little and look for the Veeam Software Appliance. In this guide, I´ll show the OVA file way of the installation.
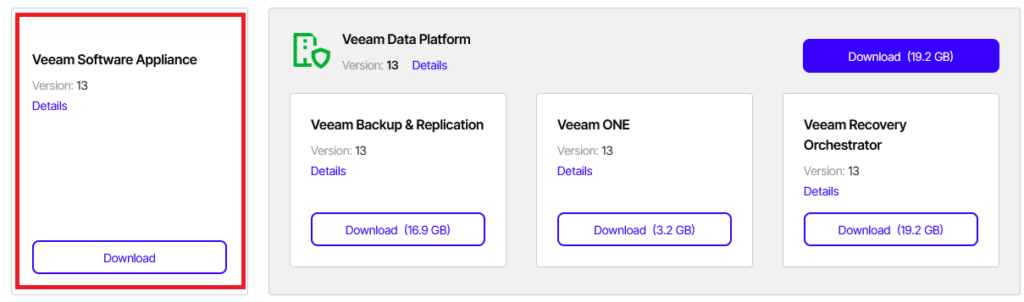
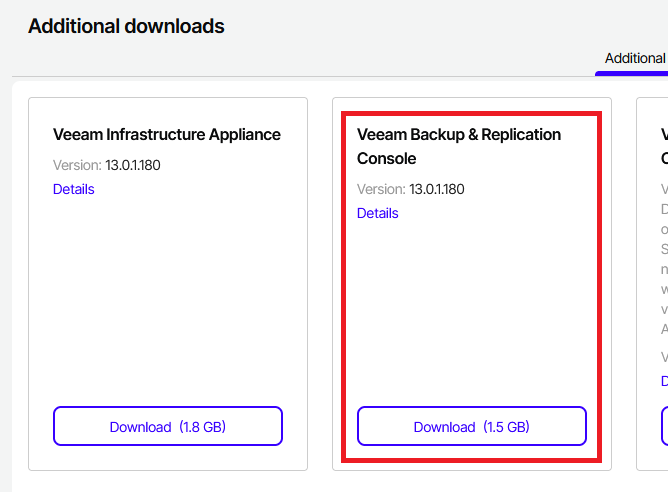
Back on the first download page, you will find the download link for the Veeam Backup & Replication Console at the bottom. You will probably need this later on, as not all functions are available in the new web UI yet. I also downloaded the Veeam Infrastructure Appliance here, which I will need later for the hardened repo.
OVA Deployment
Since the OVA file comes without any further configuration options, I will not describe these steps here.
In its delivery state, the new VM consists of the following components:
- 8 CPUs
- 16 GB memory
- 2x 240G hard drives
- One vmxnet3 network card
Please note that both CPU and memory hot add are enabled. If you do not want this, you should change these settings accordingly.
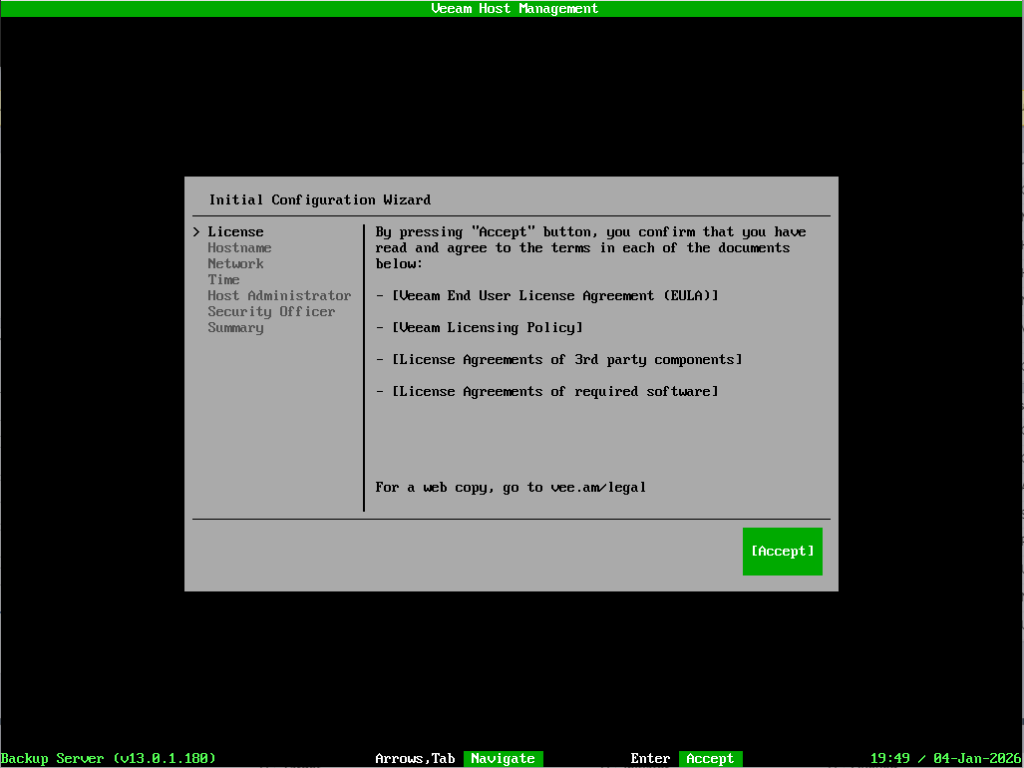
So, we start with the OVA file having been successfully transferred and the new VM then being switched on.
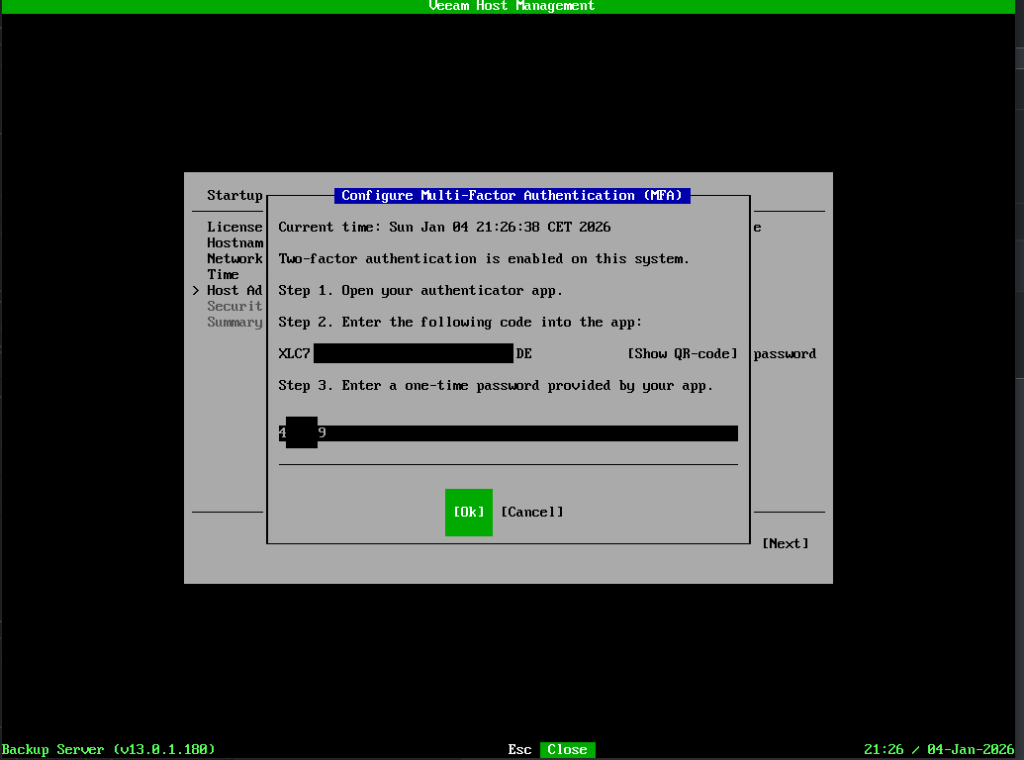
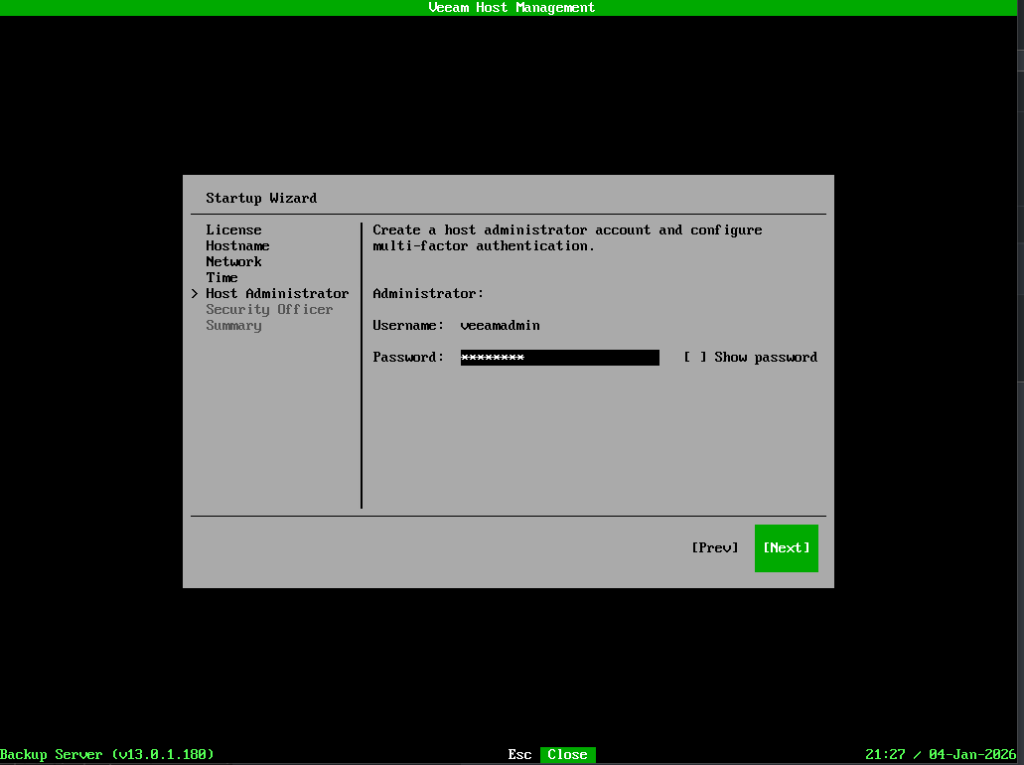
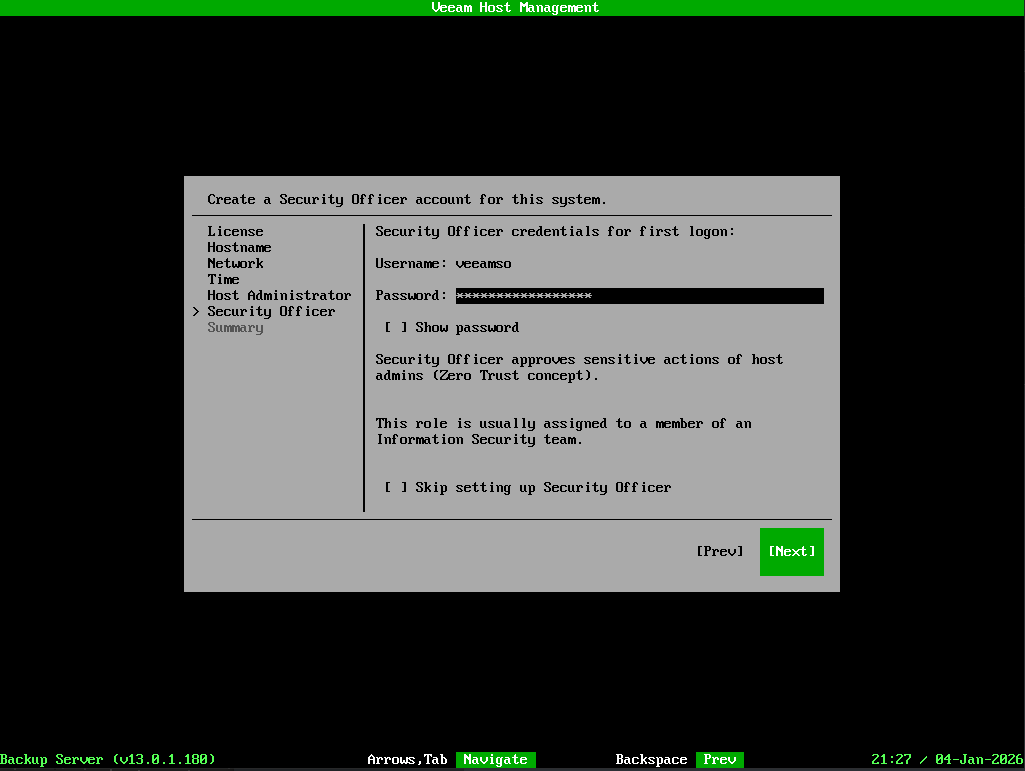
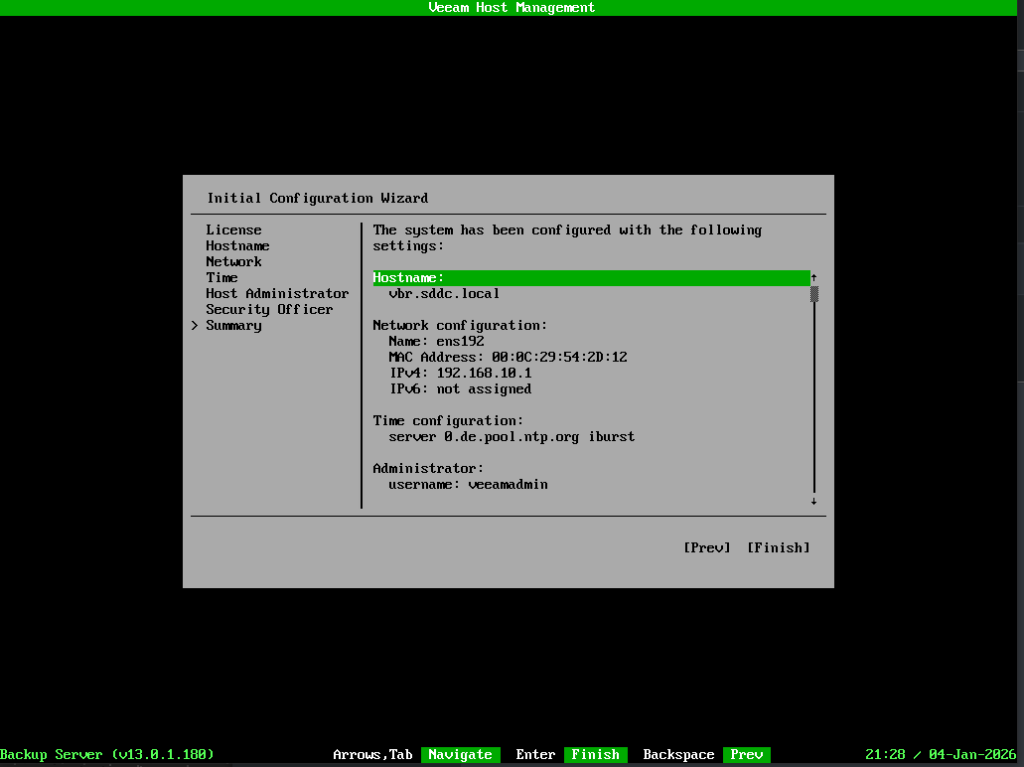
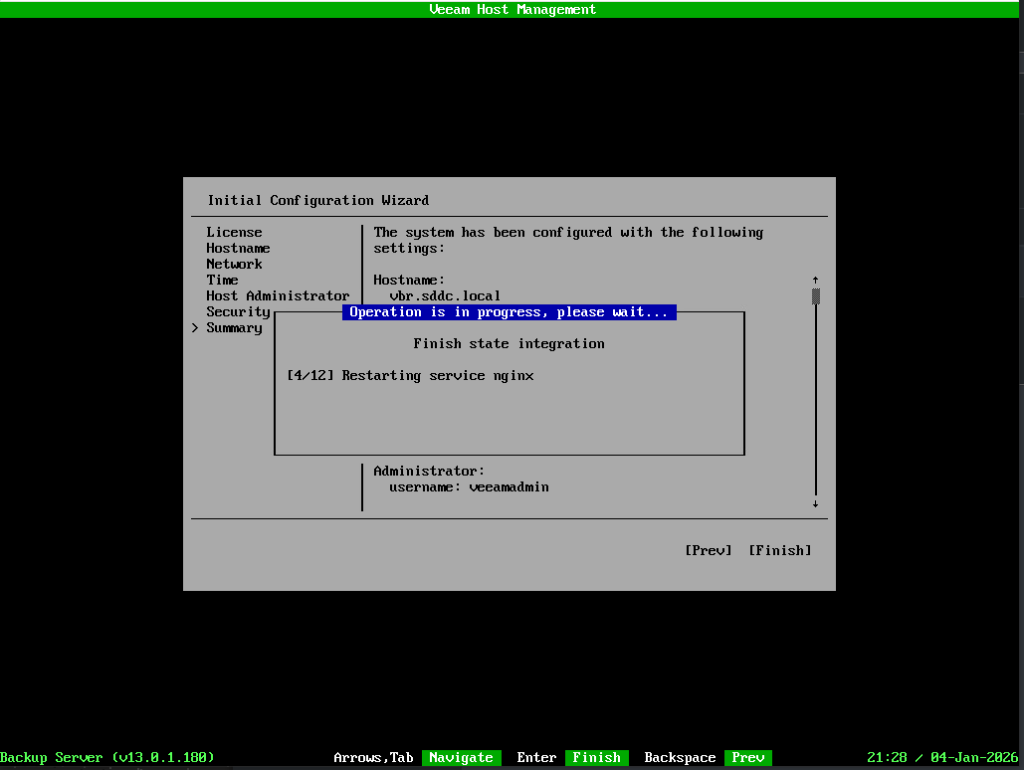
Appliance configuration

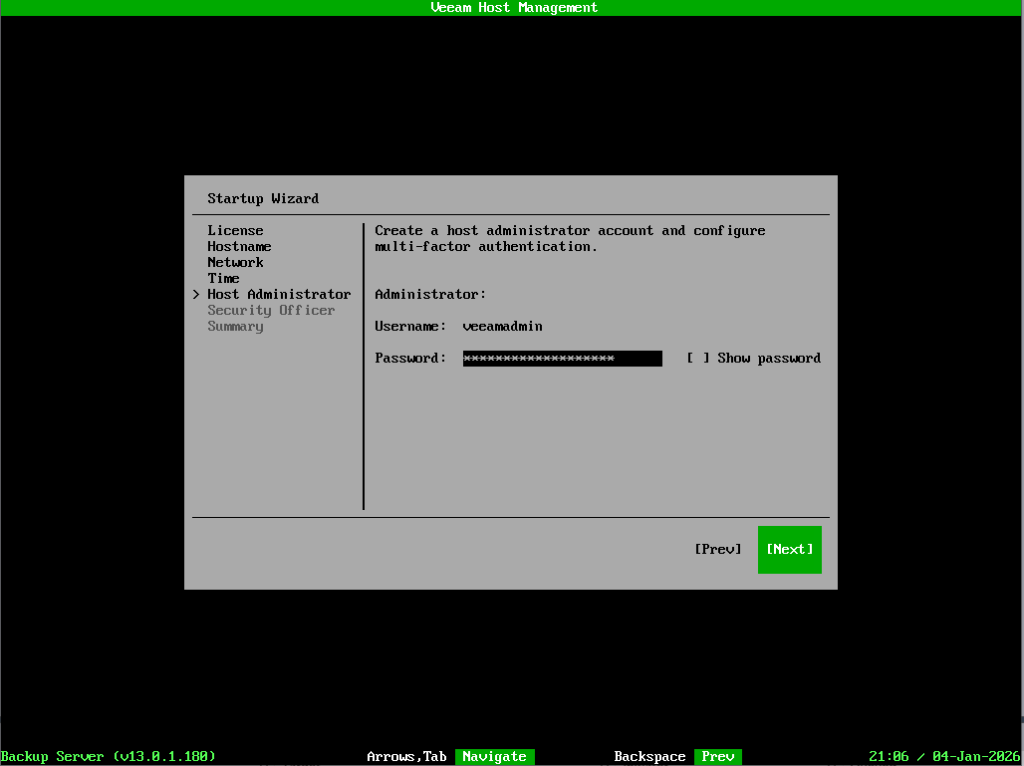
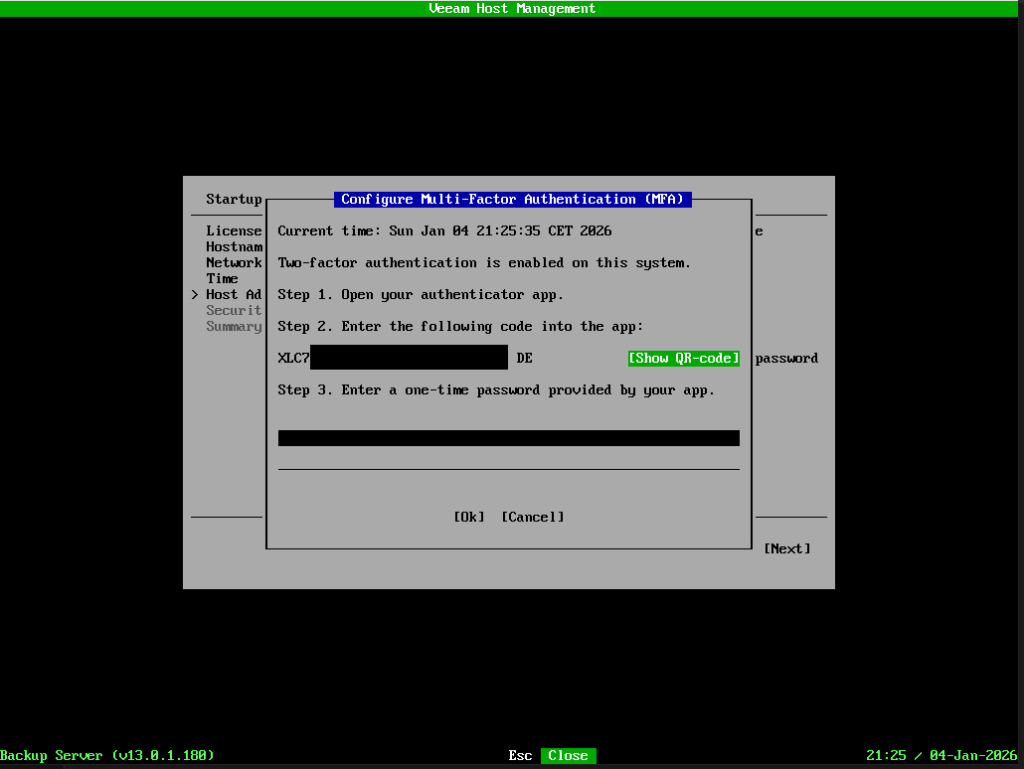
It might also be a good idea to make a copy of the activation code or QR code, or to back up the authenticator app. If you ever have problems with your cell phone, this could save the day.
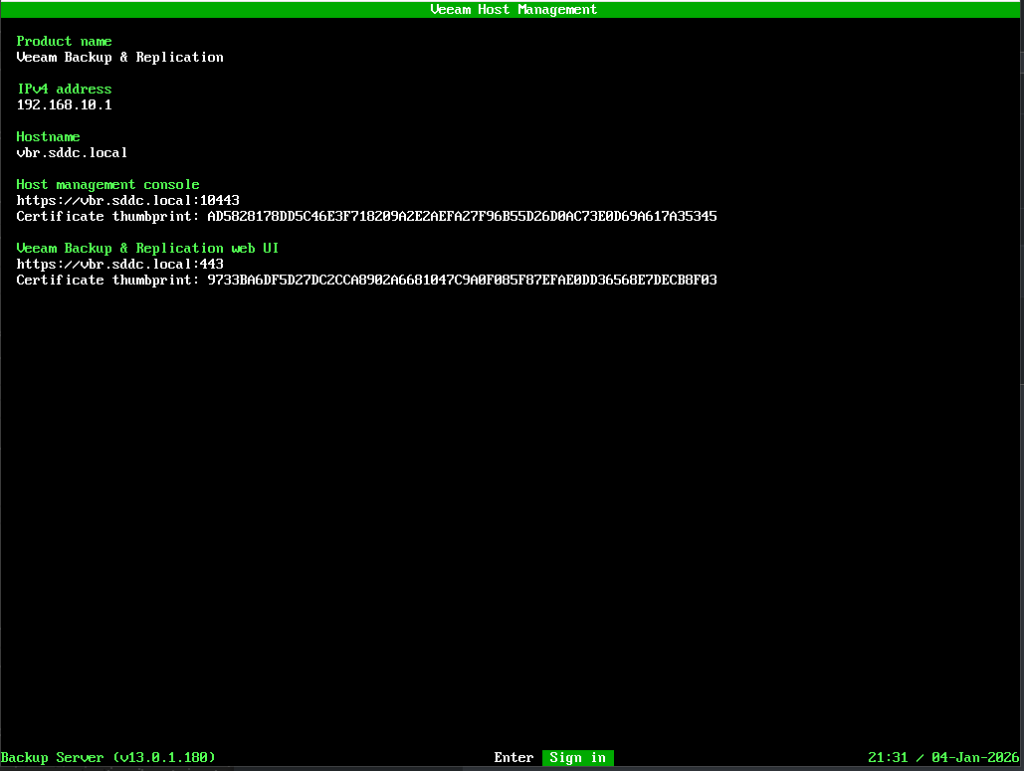
The system offers us two web interfaces for different administrative tasks.
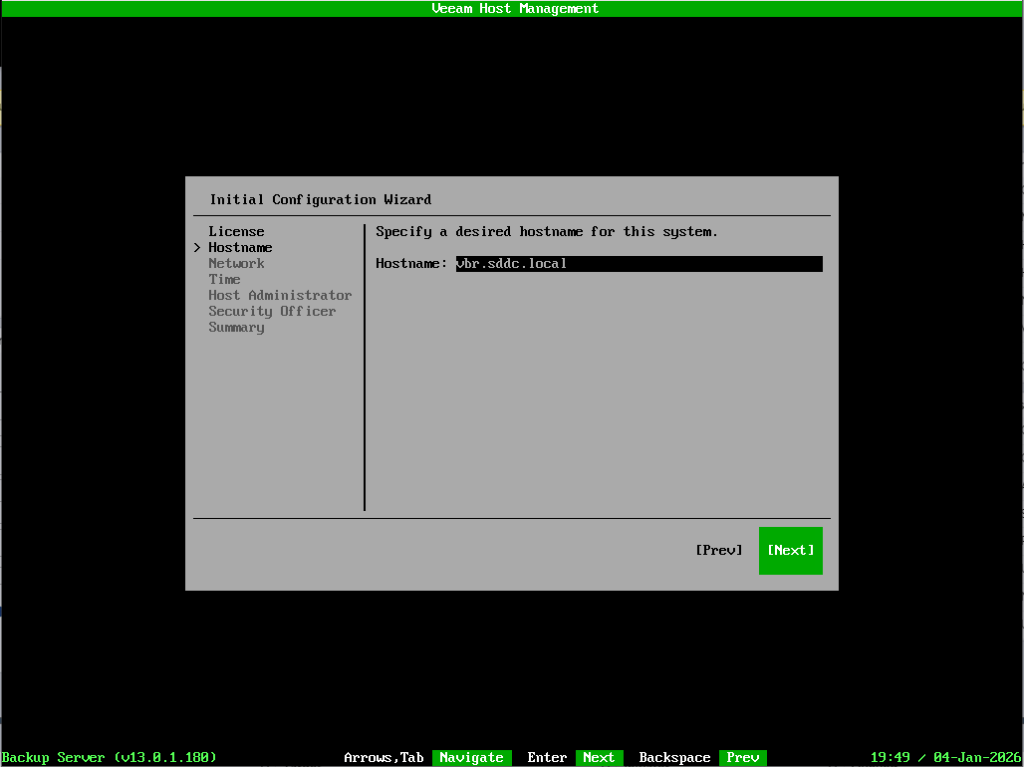
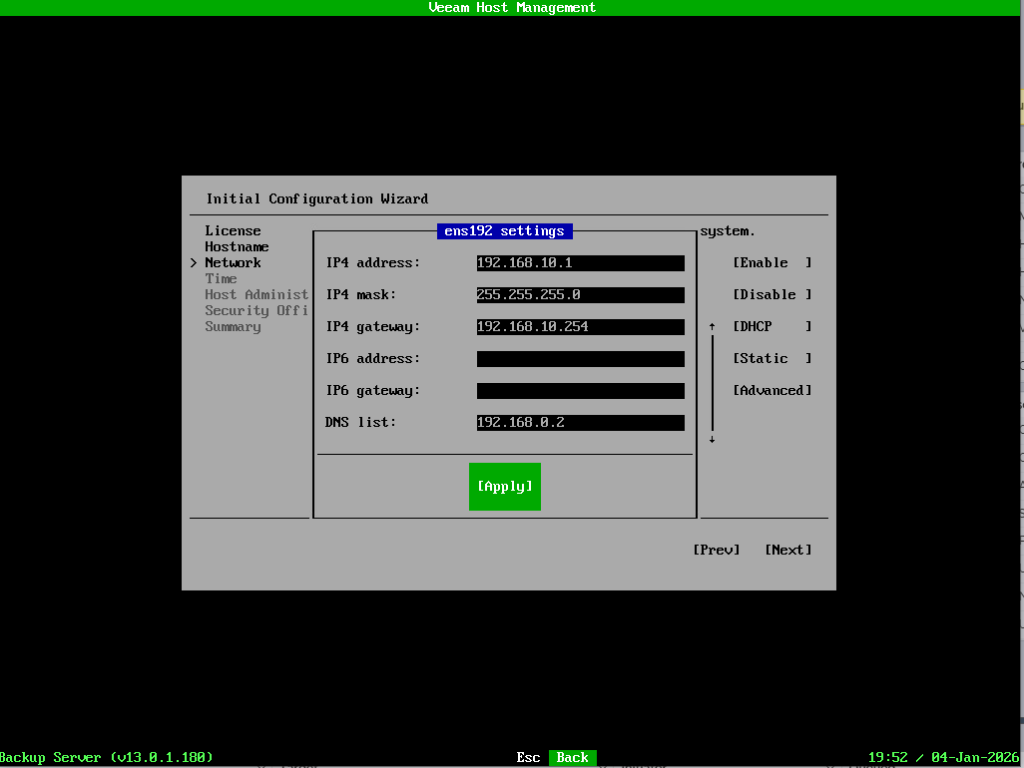
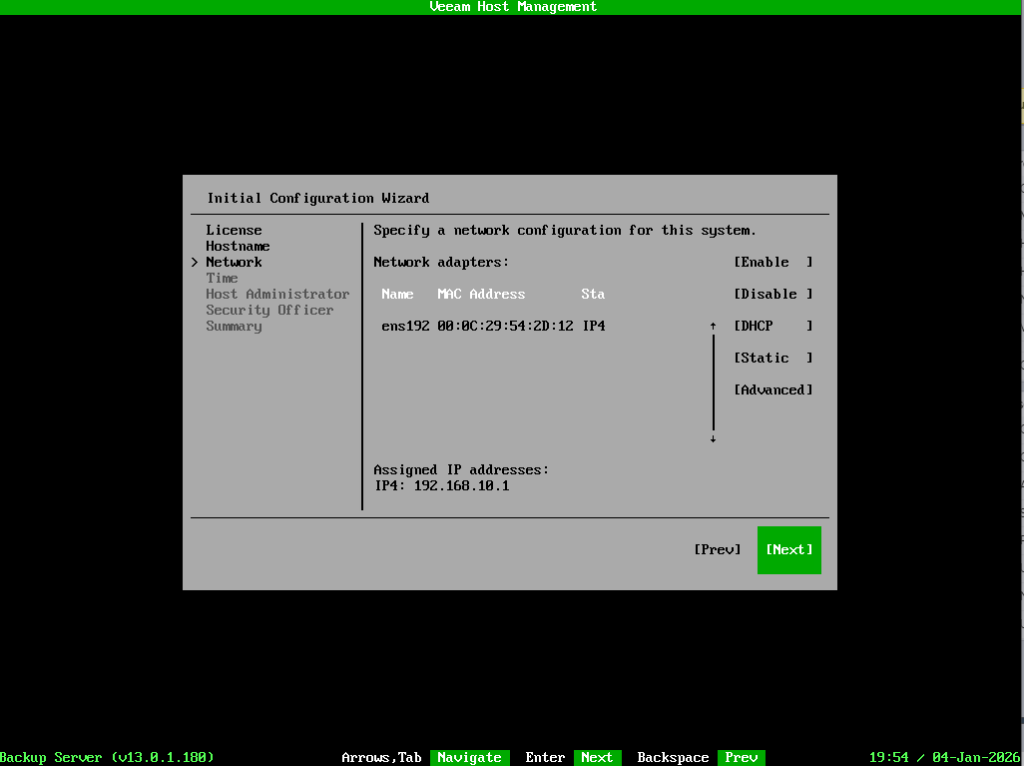
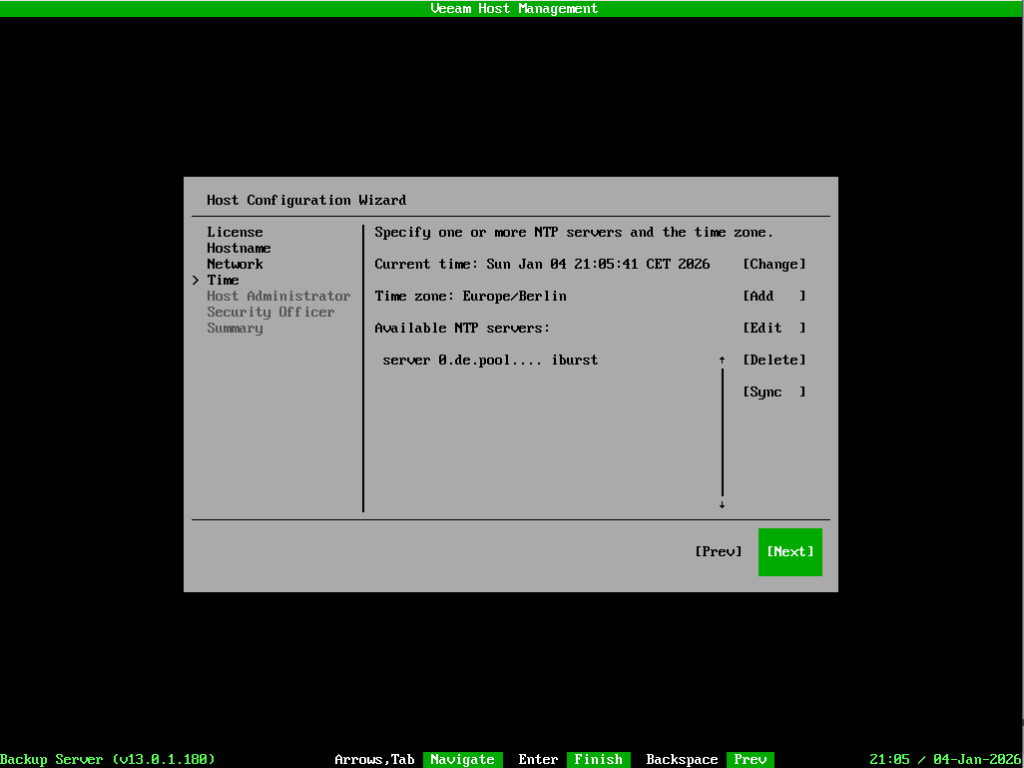
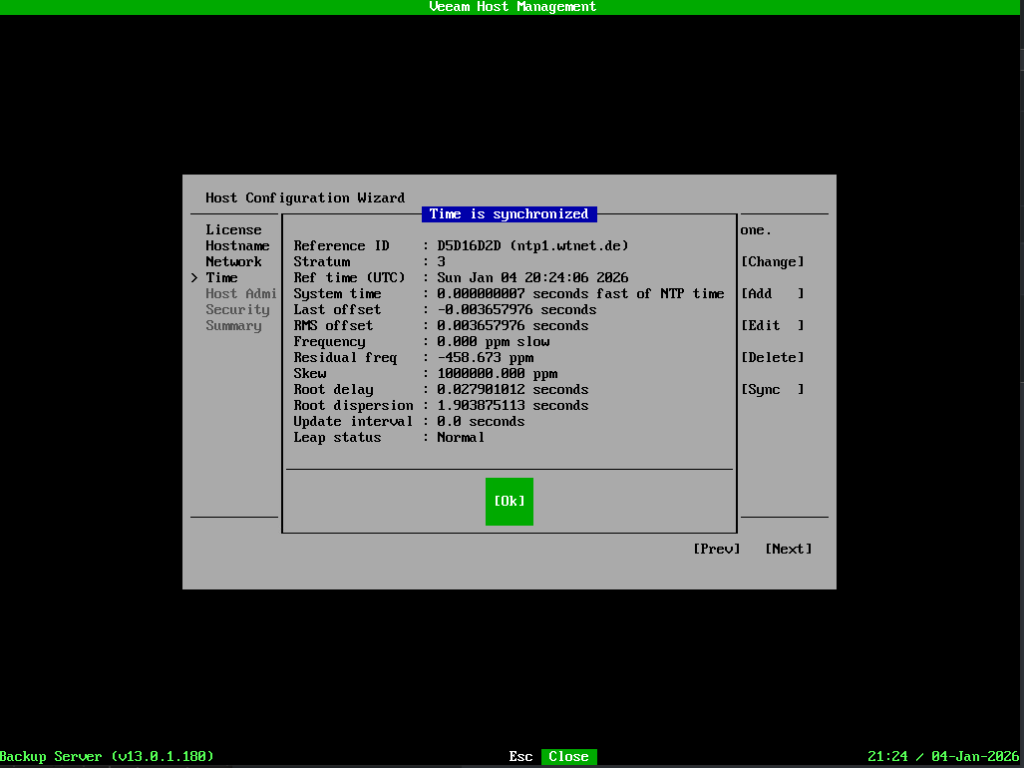
The Veeam Host Management Console can be found at https://<vbr hostname>:10443. This can be used, for example, to change the network and time server settings, but also to install updates, create support bundles, and manage local users.
At https://<vbr hostname>, you will find the actual Veeam Backup & Replication WebUI. Later in this series, we will add the hardened repo here and create our first backup job, among other things.
Applying a license
As mentioned at the beginning, I have an NFR license. In order to use and test all functions, I must activate them on the VBR server.
To do this, I first log in to the web interface of the VBR server with the veeamadmin user.
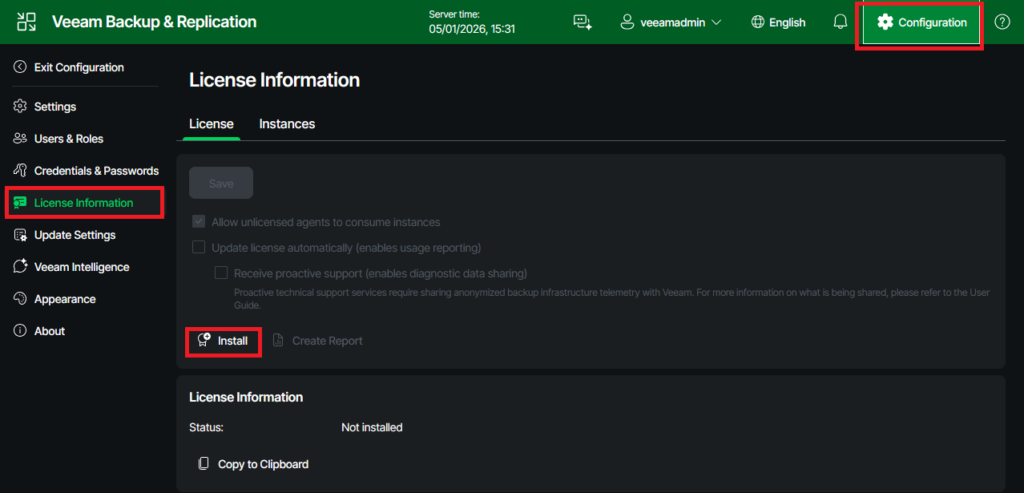
Next choose “License information” from the menu in the right, and afterwards click on “Install”. Now select your license file and upload it to your server.


That’s it for this part.
Coming up next, a hardened repo will be installed on a physical server.
2 Pingbacks