
In the second part I show up the necessary steps to get the previously installed edge nodes up and running inside NSX manager.
Creating an uplink profile
Head to System -> Fabric -> Profiles


Then click on “Set” next to “Teamings”.
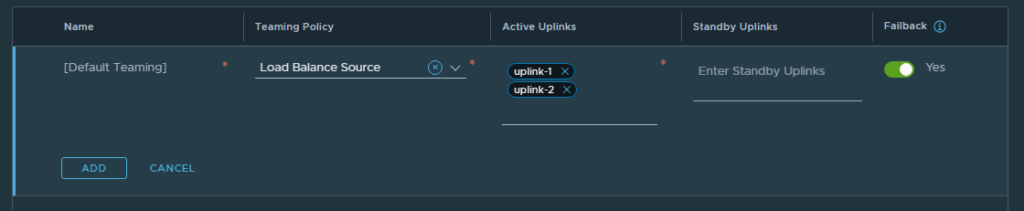
The names for the uplinks are free to choose. You can just name them uplink or even type in the name of the switch they are connected to.
When done, Click an “ADD” and then on the parent window an “APPLY”.
Use the “SAVE” button to close the uplink profile dialog.
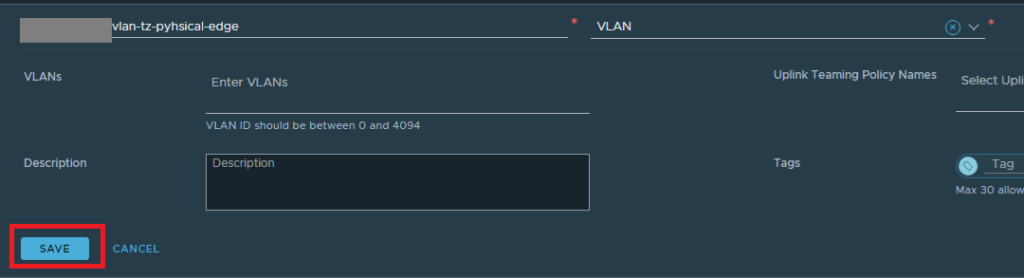
Transport zone
Next, we need a VLAN-backed transport zone for the edges.
Go to System -> Fabric -> Transport Zones and click on “Add Transport Zone”.
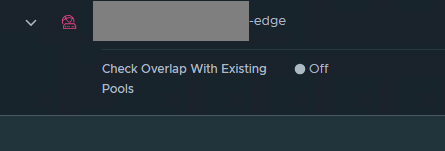
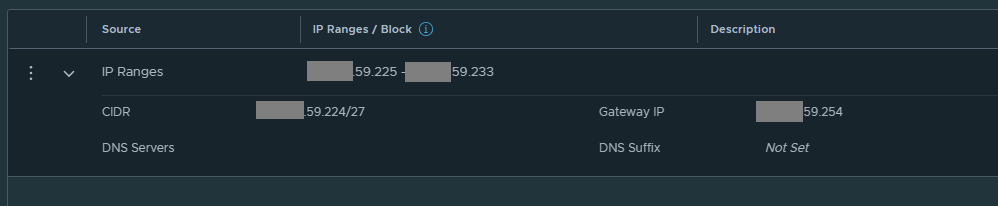
IP-Pool for Tunnel Network
I don´t like to work with static IP lists for the edge nodes, so I´ve created a new IP pool for the tunnel endpoints.
Networking -> IP Address Pools
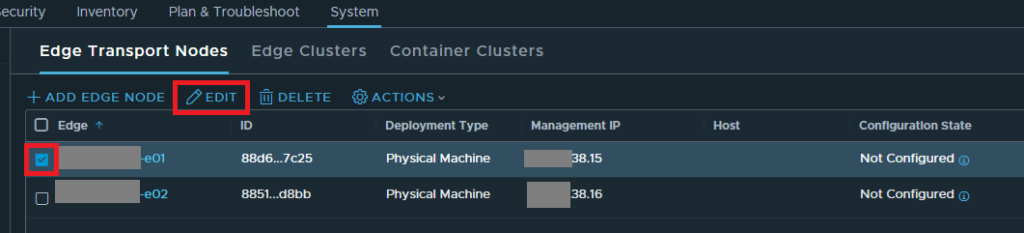
Physical Edge Node NSX Setup
After the preparation steps are finished we can now head over to System -> Nodes. Select the checkbox in front of the first node and then hit the Edit button.
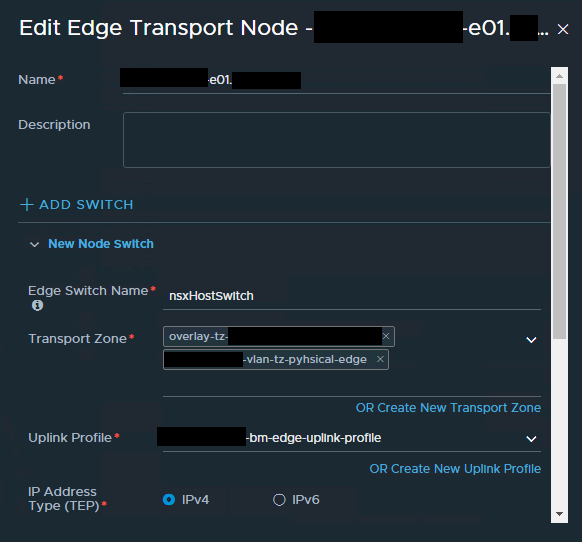
Assign the newly created VLAN transport zone as well as the overlay transport zone of your vSphere cluster to the node.
Then assing the baremetal edge uplink profile from the first step.
In order to map the physical NIC with your uplink click in the empty field behind one of your uplinks and start typing with “f”. Then a small pop-up should appear and you can select the desired NIC.
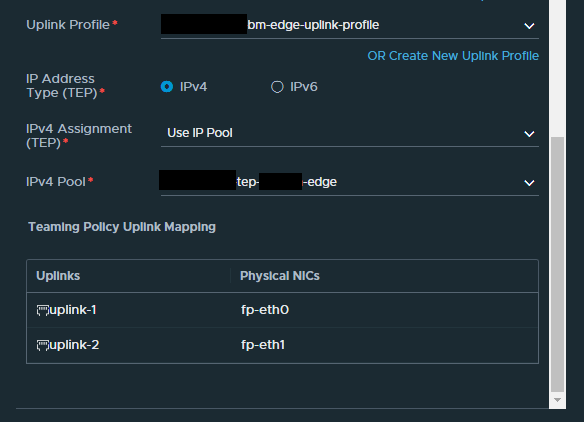
Save and apply the settings and repeat with the other node(s).
Wait until all nodes finished their configuration tasks and show up as “Success”

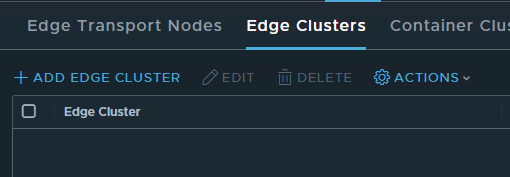
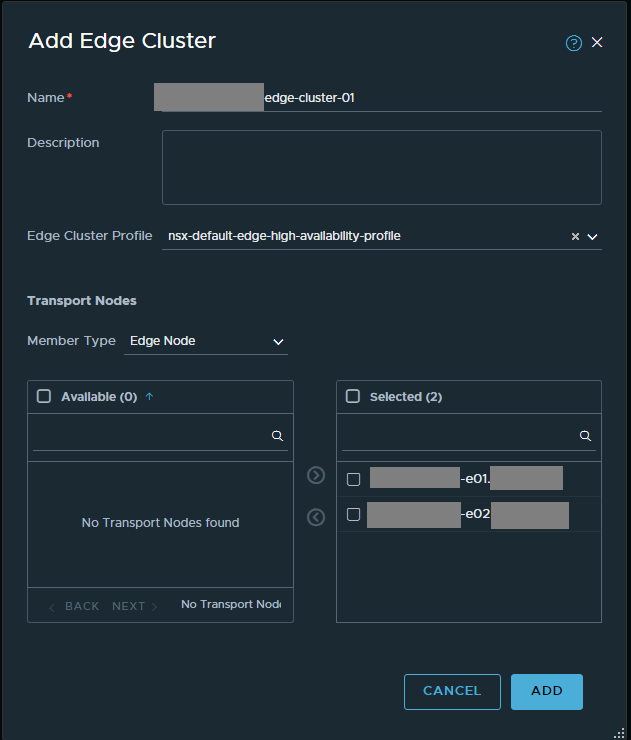
Edge Cluster setup
Next step is the fusion of both nodes into an Edge Cluster.
Name your cluster and select a cluster profile. In my case i just used the default one. Then move your nodes from “availabale” to “selected” and finish the creation with a click on “Add”.
The edge cluster is now ready for use. The next step is to configure a T0 gateway to establish connectivity to the rest of the network.
Leave a Reply