
When using Overlay networks within your NSX environment, you need at least two edge nodes. VMware´s preferred way of deployment is VMs, as it´s the easiest and most comfortable way of deployment and management.
To enhance network flow and ensure high data rates, I decided to have a look on bare metal edges.
This two-post series will show how to basic install and join them into a VCF NSX manager.
Environment for the setup
For the setup, I´ve used the listed hardware and software stack. The edges will be managed through In-Band Management via a tagged VLAN. Also, I won´t use any DHCP service, all is done with static IPs.
- Software Stack
- VCF 9.0.1
- NSX 9.0.1
- Hardware Stack
- HPE DL380 Gen10
- Intel(R) Xeon(R) Gold 6154 CPU @ 3.00GHz
- 256 GB Memory
- DualPort 100G Intel(R) Eth E810-CQDA2
- SmartArray P408i-a Controller
- 2x 240GB 6G SATA SSD as RAID1
Installation of the Bare Metal Edge
Download the matching iso file from the Support Portal, connect it via your hardware´s remote interface (HPE iLO5 in my case) to your server and boot from it.
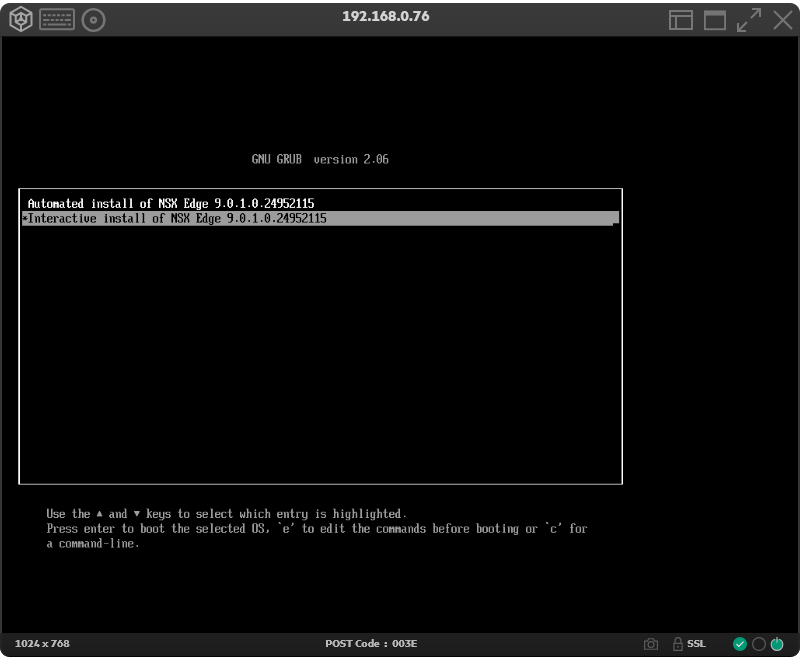
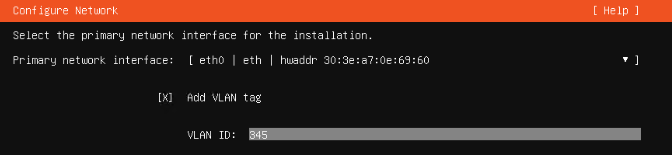
First step in the installation is the configuration of the management network.
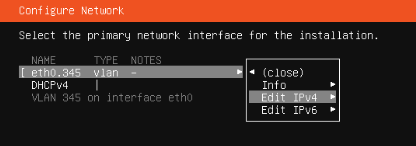
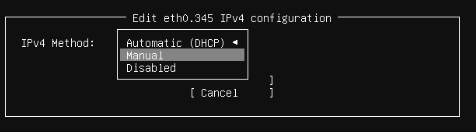
Select IPv4 and hit enter again.
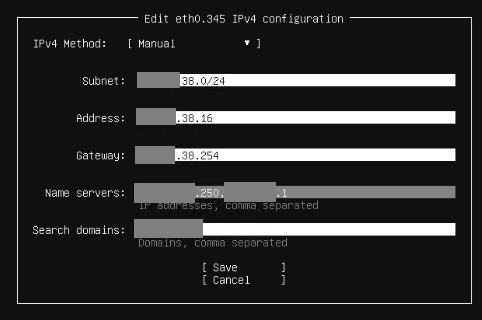
Network should be up and running and you could ping your system to verify this.

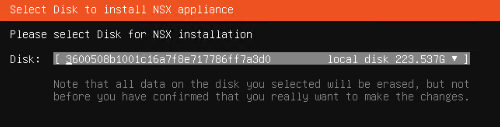

Depending on your hardware the installation can take some minutes.
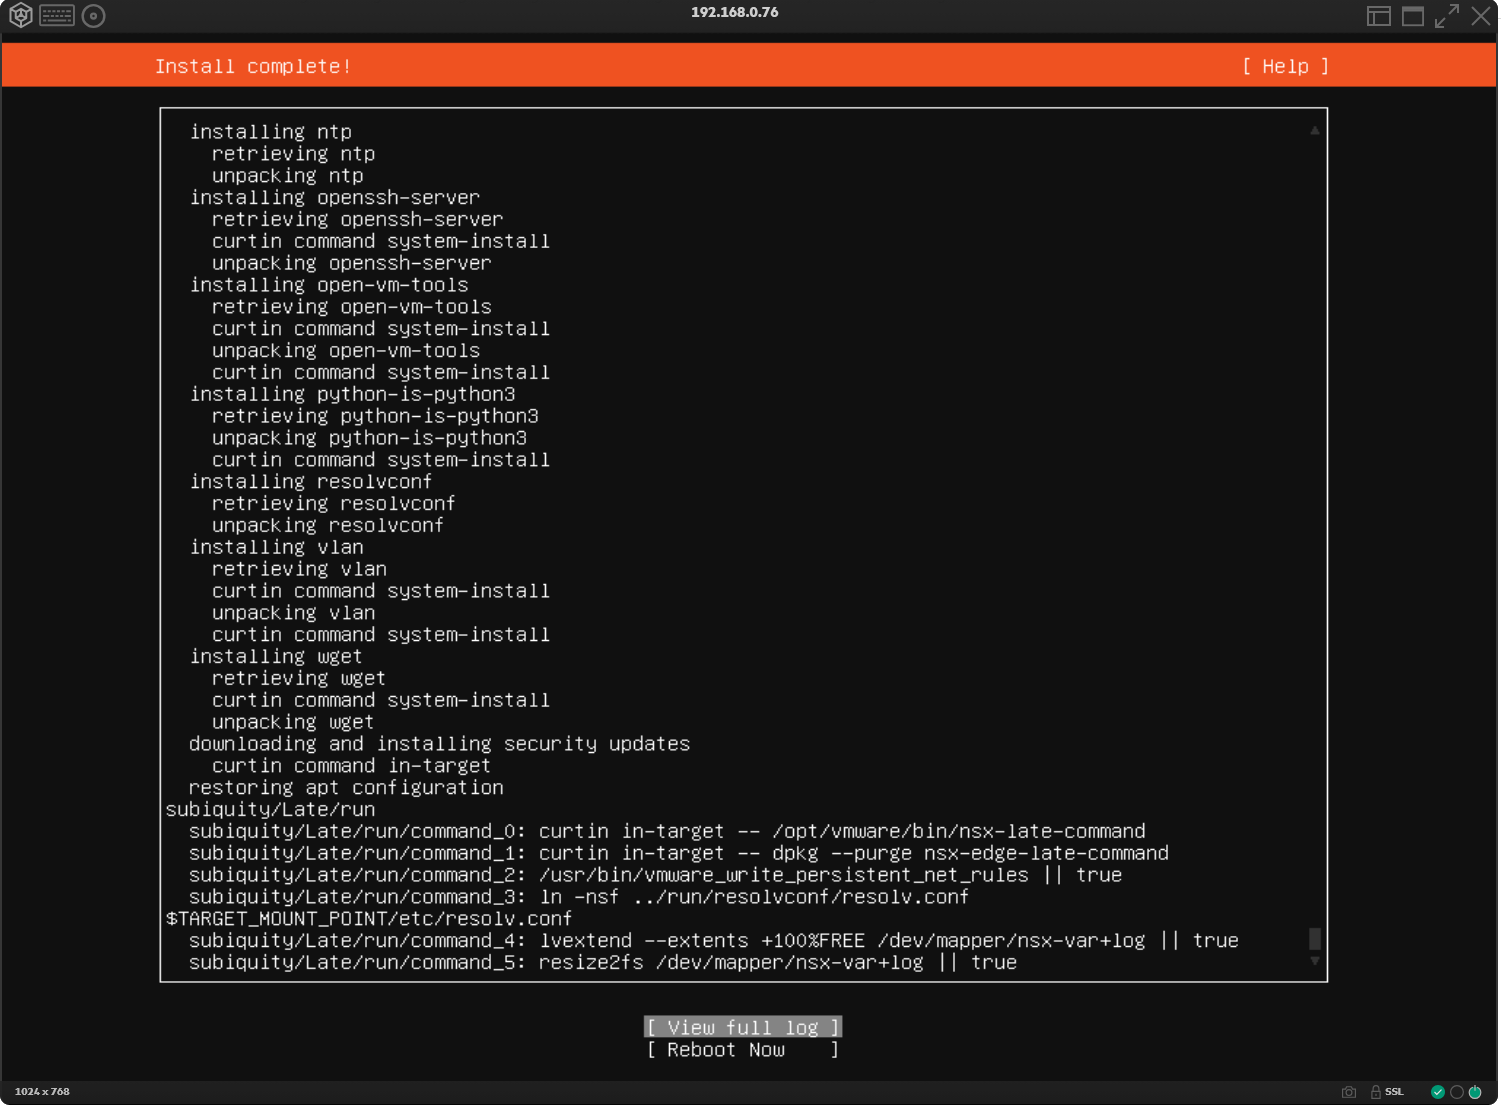
When it´s done you´ll see a “Install complete!” in the top bar, select “Reboot now” and hit “enter”.
Finalizing the installation and adoption to NSX manager
Log in to each node as “admin” via your remote interface. The default password should be “default”. You´ll have to change it at first login. When performing these steps, I normally change it to something easy as “VMware1!VMware1!” and as soon as SSH is working, I´ll change it once more into a strong password. This avoids entering wrong passwords due to input lags, wrong keyboard layout, etc.
You may see a message like “WARNING: NSX Edge is still initializing. Reboot may be performed” when logging in for the first time.
If you do, just wait some time for the system to perform the reboot before continuing with the next steps.
In order to change the interface, we first have to stop the dataplane.
Then we clear the current interface and recreate it again as in-band.
The NSX admin CLI supports tab completion, so just type some letters and use tab to speed things up. This even works with the MAC addresses.
stop service dataplane
clear interface eth0.345
set interface mac <mac of eth0> vlan 345 in-band plane mgmt
set interface eth0.345 ip xxx.xxx.38.16/24 gateway xxx.xxx.38.254 plane mgmt
To verify your actions, try to ping your host again. If everything was done correct, it should answer. Now we enable SSH to join the node to our NSX managers.
start service sshAs said before, the first step will be to change the passwords of the admin and the root accounts of the appliance.
set user admin password
set user root password
The system will first ask for the old passwords. For the admin user, use the one set during setup. For the root user “vmware” is the default one (at least for the used ISO).
In order to uniquely identify each node, we should first change the hostname. Don´t wonder, the change of the hostname will first show up on the CLI after the host boots again.
set hostname <hostname>As the removal of the interface also cleared the DNS settings, we have to add them once more.
set name-servers <dns1>
set name-servers <dns2>
set search-domains <searchdomain>
Next, we enable NTP and configure our timezone, so we have useful timestamps
set ntp-server <DNS or IP of NTP>
set timezone Europe/Berlin
Now we need the NSX API certificate thumbprint of a NSX manager. There are different ways to get it. I logged on to an NSX manager via SSH and executed the following command.
NSX-Manager1> get certificate apiAnother way would be to use the NSX GUI. Under System->Appliances, select one of the NSX managers and click on “VIEW DETAILS”. In the pop-up that appears, click on the small “copy symbol” next to “CERT THUMBPRINT”, the thumbprint is then stored in the clipboard.
On the NSX edge node inside the admin session execute this command
join management-plane <ip of manager> thumbprint <thumprint> username adminThe command will register the edge node within the manager with the local name “admin” from the NSX manager. After sending the command you will need to provide the password for that account.
Once the command succeeded you´ll see a message like “Node successfully registered as Fabric Node: <uuid>”.
If you look in the GUI under System->Fabric->Nodes, you can also see the Edge node there.
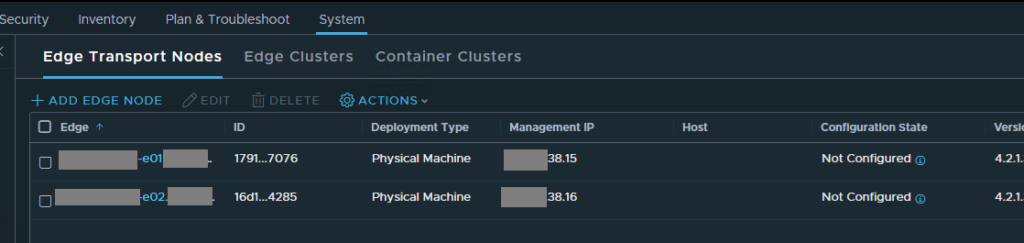
As shown in the screenshot, the edge node is seen by the manager and is awaiting its configuration. This will be done in part 2 of the post.
Leave a Reply